


This project directly followed our Teddy Bears in Graphite project where students has observed changes in value and used graphite pencils to render these in their bear drawings. This experience of observation set them up for being able to paint a bear in a different medium. For this project I chose gouache because it's easy to blend the various values together to easily achieve form and dimension.
This project focusses on:
Observational drawing
Value
Form
Gouache techniques
Drawing
Students chose a photograph of a teddy bear to work from, and drew it out by observation by breaking it down into basic shapes. To help us identify the basic shape break-down of our bears, we placed a small piece of tracing paper over our bear photo and traced the large, basic shapes: head, belly, legs and arms. This helps us see the individual parts of our bear better, without the obstruction of detail. We then drew our bear much larger on our good drawing paper, eye-balling our traced sample to help us get the shapes right. We drew "from out elbow" using large, repetitive, circular strokes with a very light hand: round head, oval body, cylindrical legs and arms, etc. Students did not have erasers for this step, which encourages them to draw lightly, to 'sketch' out these basic shapes until they look right, and to simply ignore unwanted lines. Good lines were then drawn over to darken; superfluous lines simply ignored (they'd be painted over later anyway).
 |
| Identifying basic shapes |
 |
| Tracing basic shapes with tracing paper |

Background
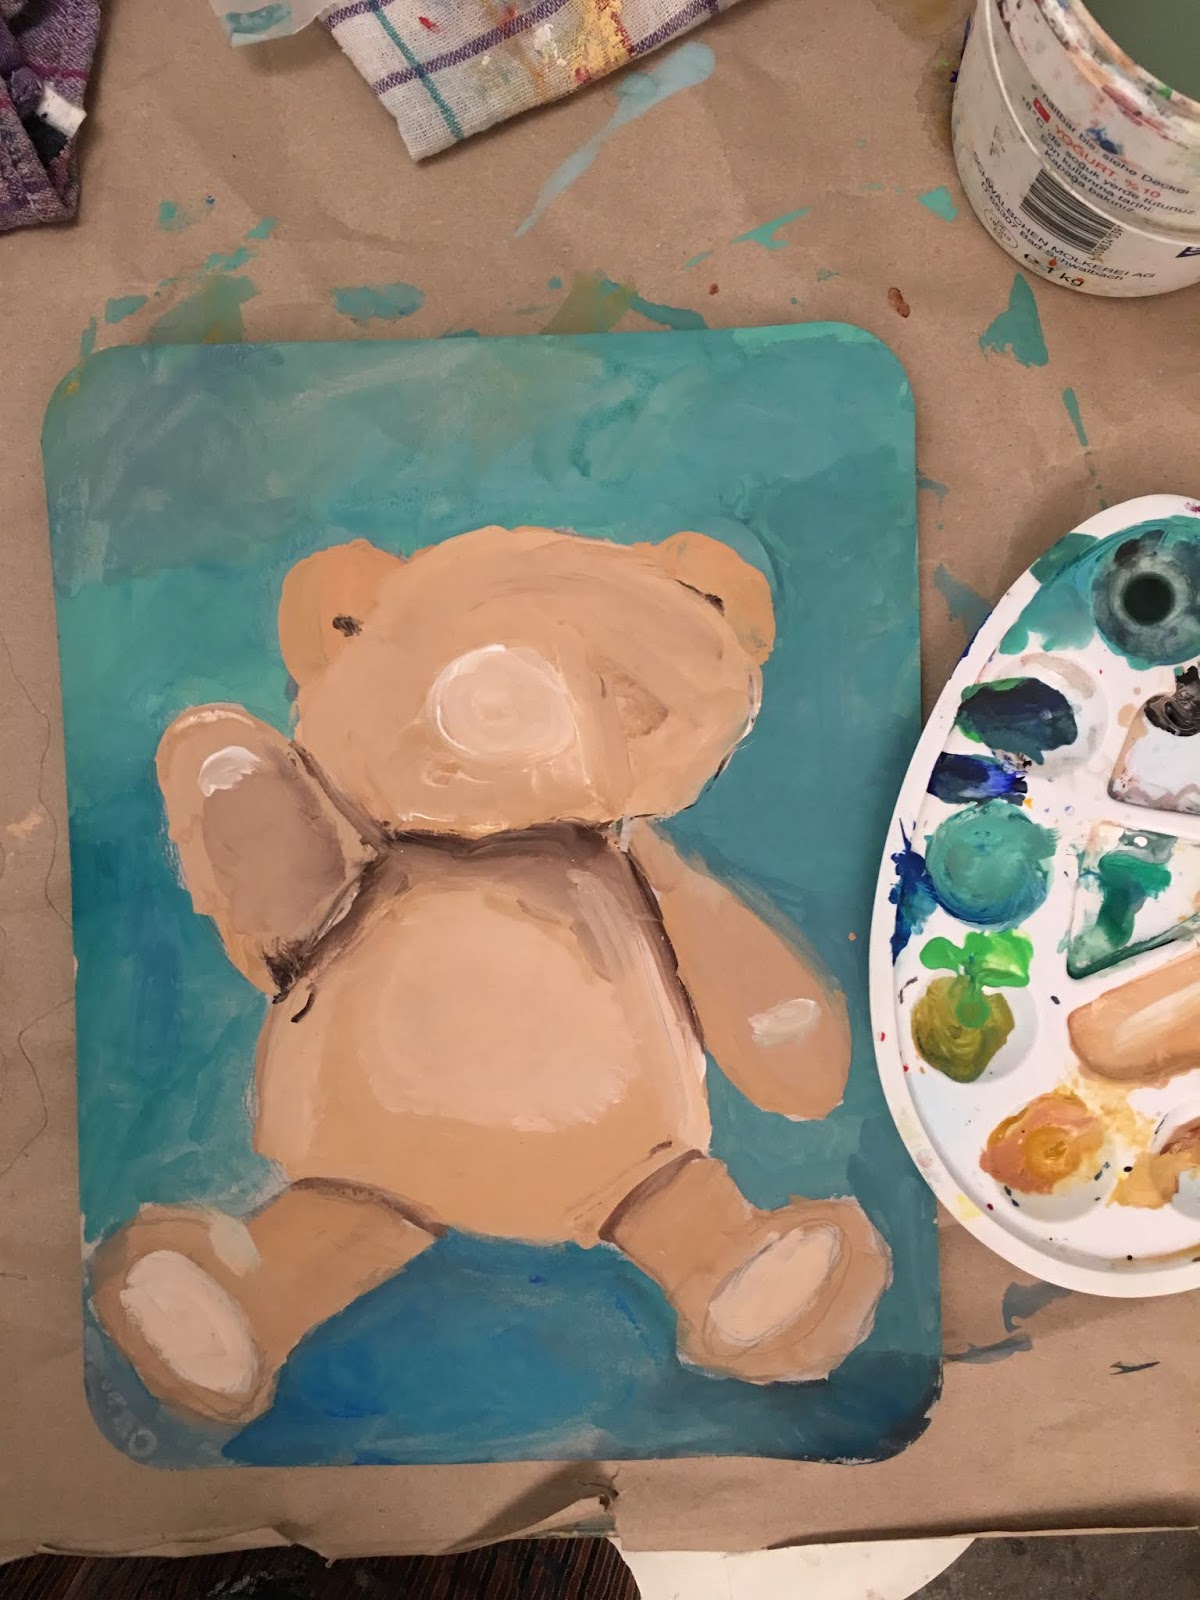
Once drawn, students used blues, greens and white to paint the background. We used a 'stippling' approach in order to make it really textured. Using a flat edge brush, we used blues and greens and painted in an 'x' motion on our paper. Without rinsing our brush out, we dipped in white and painted more 'x' motions over top, which blends and brightens our blues and greens, creating tints.
Gouache is water-based, so paint can be reactivated. Brushing white over the blues and greens mixes and blends these colors together.
It's really important to not over-blend this step, as we are going for a textured look with some lighter areas and some darker areas.
Bears
Using a palette of brown, ochre and white we painted our bears. Each body part was painted one at a time. We started with browns and ochre, then added white over top for lighter values and blended into our brown, creating lighter browns and tints. Students explored ways to create fur texture with their brush. There was stippling, dabbing, and swirling the brush. We continued to add white to our lighter areas, and added dark brown to our darker value areas until we felt we had created all the values we see in our photograph. Students often had to be encouraged to go darker, or to go lighter. When they did, they instantly saw their bear develop more form and become more dimensional.

Shadows
Using a darker color from our palette we painted a simple shadow under the 'seat' of our bear, so he's not floating in space.
Details
Using a small brush we painted our eyes in black, our nose and mouth, complete with nightlights and shadows. Scarves, neck-ties and shirts were painted.


My younger kids (7-9) did this project in two 90-minute classes. My older kids (8-14) completed it in one 90-minute class.
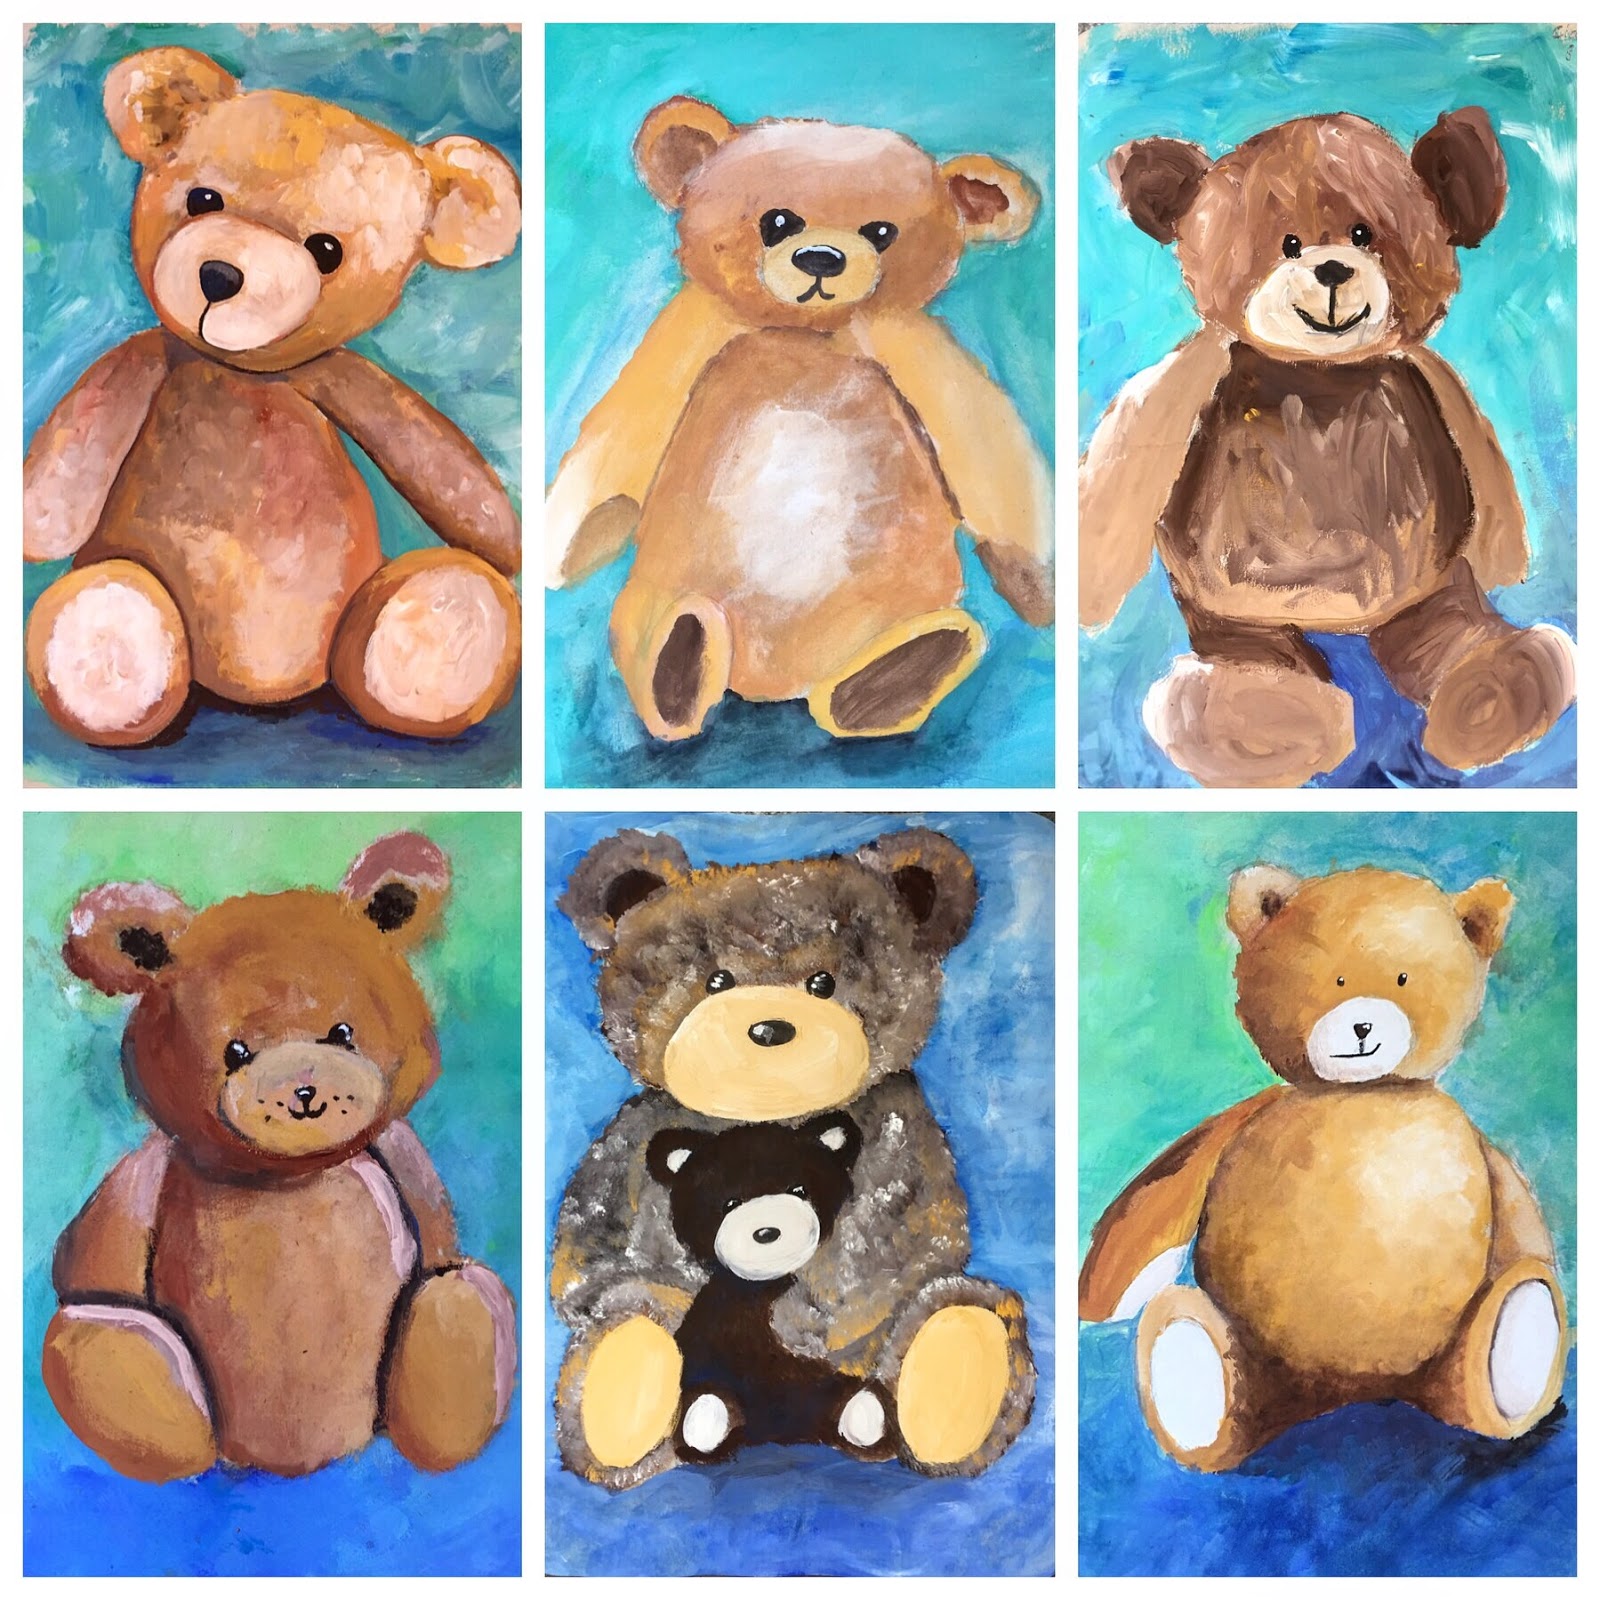 |
| Kids 8-14. Teacher sample top left. |
 |
| Kids 9-11 |
 |
| Kids 7-9 with teacher sample top left |