Tuesday, April 5, 2022

Tiger on Branch - Stylized Mixed-Media


Class collage - ages 9-11

To commemorate Chinese Lunar New Year (2022 year of the tiger), my Monday kids painted tigers on a branch with varied jungle foliage. Our objectives were plentiful for this lesson, resulting in much learning, problem-solving and superb results.

OBJECTIVES:
  • Observational drawing (tiger face, tiger body in lying posture on branch)
  • Draw a variety of jungle foliage and flowers from imagination and from observation
  • Establish a landscape (sky, horizon line, middle ground, foreground)
  • Composition - use of overlapping and variety
  • Gouache painting and blending techniques
  • Color mixing (with a variety of greens)
  • Outlining for contrast and refinement
  • Use black marker to create a stylized-look
  • Use colored pencil for added texture and color variations
*A Note on Gouache:
Gouache is my favorite paining medium. Unlike acrylic, gouache is water-based and can be reactivated after dry. It's easy to use, as the texture is creamy and smooth. Because it does not dry quickly and permanently like acrylic, colors can be mixed and easily blended directly on the paper. It works superbly with mixed-media, as other media can be easily applied overtop. It's highly pigmented and intense, meaning a little goes a long way. My gouache comes in tubes, so I used to squirt paint for each student on their palette. I realized that I was throwing so much away at the end of each class. Now, I dispense gouache into small containers, and have my students simply dip their brush in the color they need, then mix it on their palette for personal use. Paint waste has been significantly reduced, as students only take what they need, as they need it. Once on their palettes, they explore with color mixing, leading to unique colors and tints. When the paint dries in the containers, I simple refresh/reactivate with a bit of water from a spritz bottle, and a spritz of rubbing alcohol to prevent molding (this can happen when not in air tight containers...).


Gouache in small containers
 for shared use reduces paint waste

Individual palettes for mixing colors


STEP 1:
Students chose a tiger on a branch from a selection of photographs. They practiced drawing the face and posture of the tiger, using basic shapes (circles, ovals), and then refining the proportions and shapes, and adding details. I drew several tigers on the whiteboard to demonstrate this use of basic shapes. 

STEP 2:
On pink paper, students established a basis landscape (skyline, horizon line, middle ground, foreground), and placed a large tree off to one side, with a branch or tree stump for the tiger to lie on. They drew their tiger on their branch, and added a variety of LARGE leaves and flowers for a FULL, interesting composition with plenty of VARIETY. These were largely drawn from imagination, with some from observation. 

STEP 3:
Starting at the top and working their way down, student painted their background areas, leaving out anything in the foreground (so sky, hills, background grass, branch). Students were encouraged to mix interesting colors, blend directly on the paper, and use white to mix softer tints). 

STEP 4:
Students painted all the elements in their foreground (leaves, foliage and flowers), and then the tiger. Again, color mixing and creating tints was key. Many greens, mixed with blues, yellows, browns and white creates a dynamic and varied composition. 

STEP 5:
Students outlined all contours with thick black permanent marker. Tiger stripes were drawn with black marker, and smaller marker for face details. They added dots and dashes for added texture and interest.

STEP 6:
Colored pencil was used to add more depth in value, to add extra color variation, and to create more texture.

These turned out so bold and powerful - the black outlines really make all the elements pop.

WORK IN PROGRESS
Paint sky first, in blended sunset colors

Paint all background sections
Address foreground elements next

Working on the foreground elements
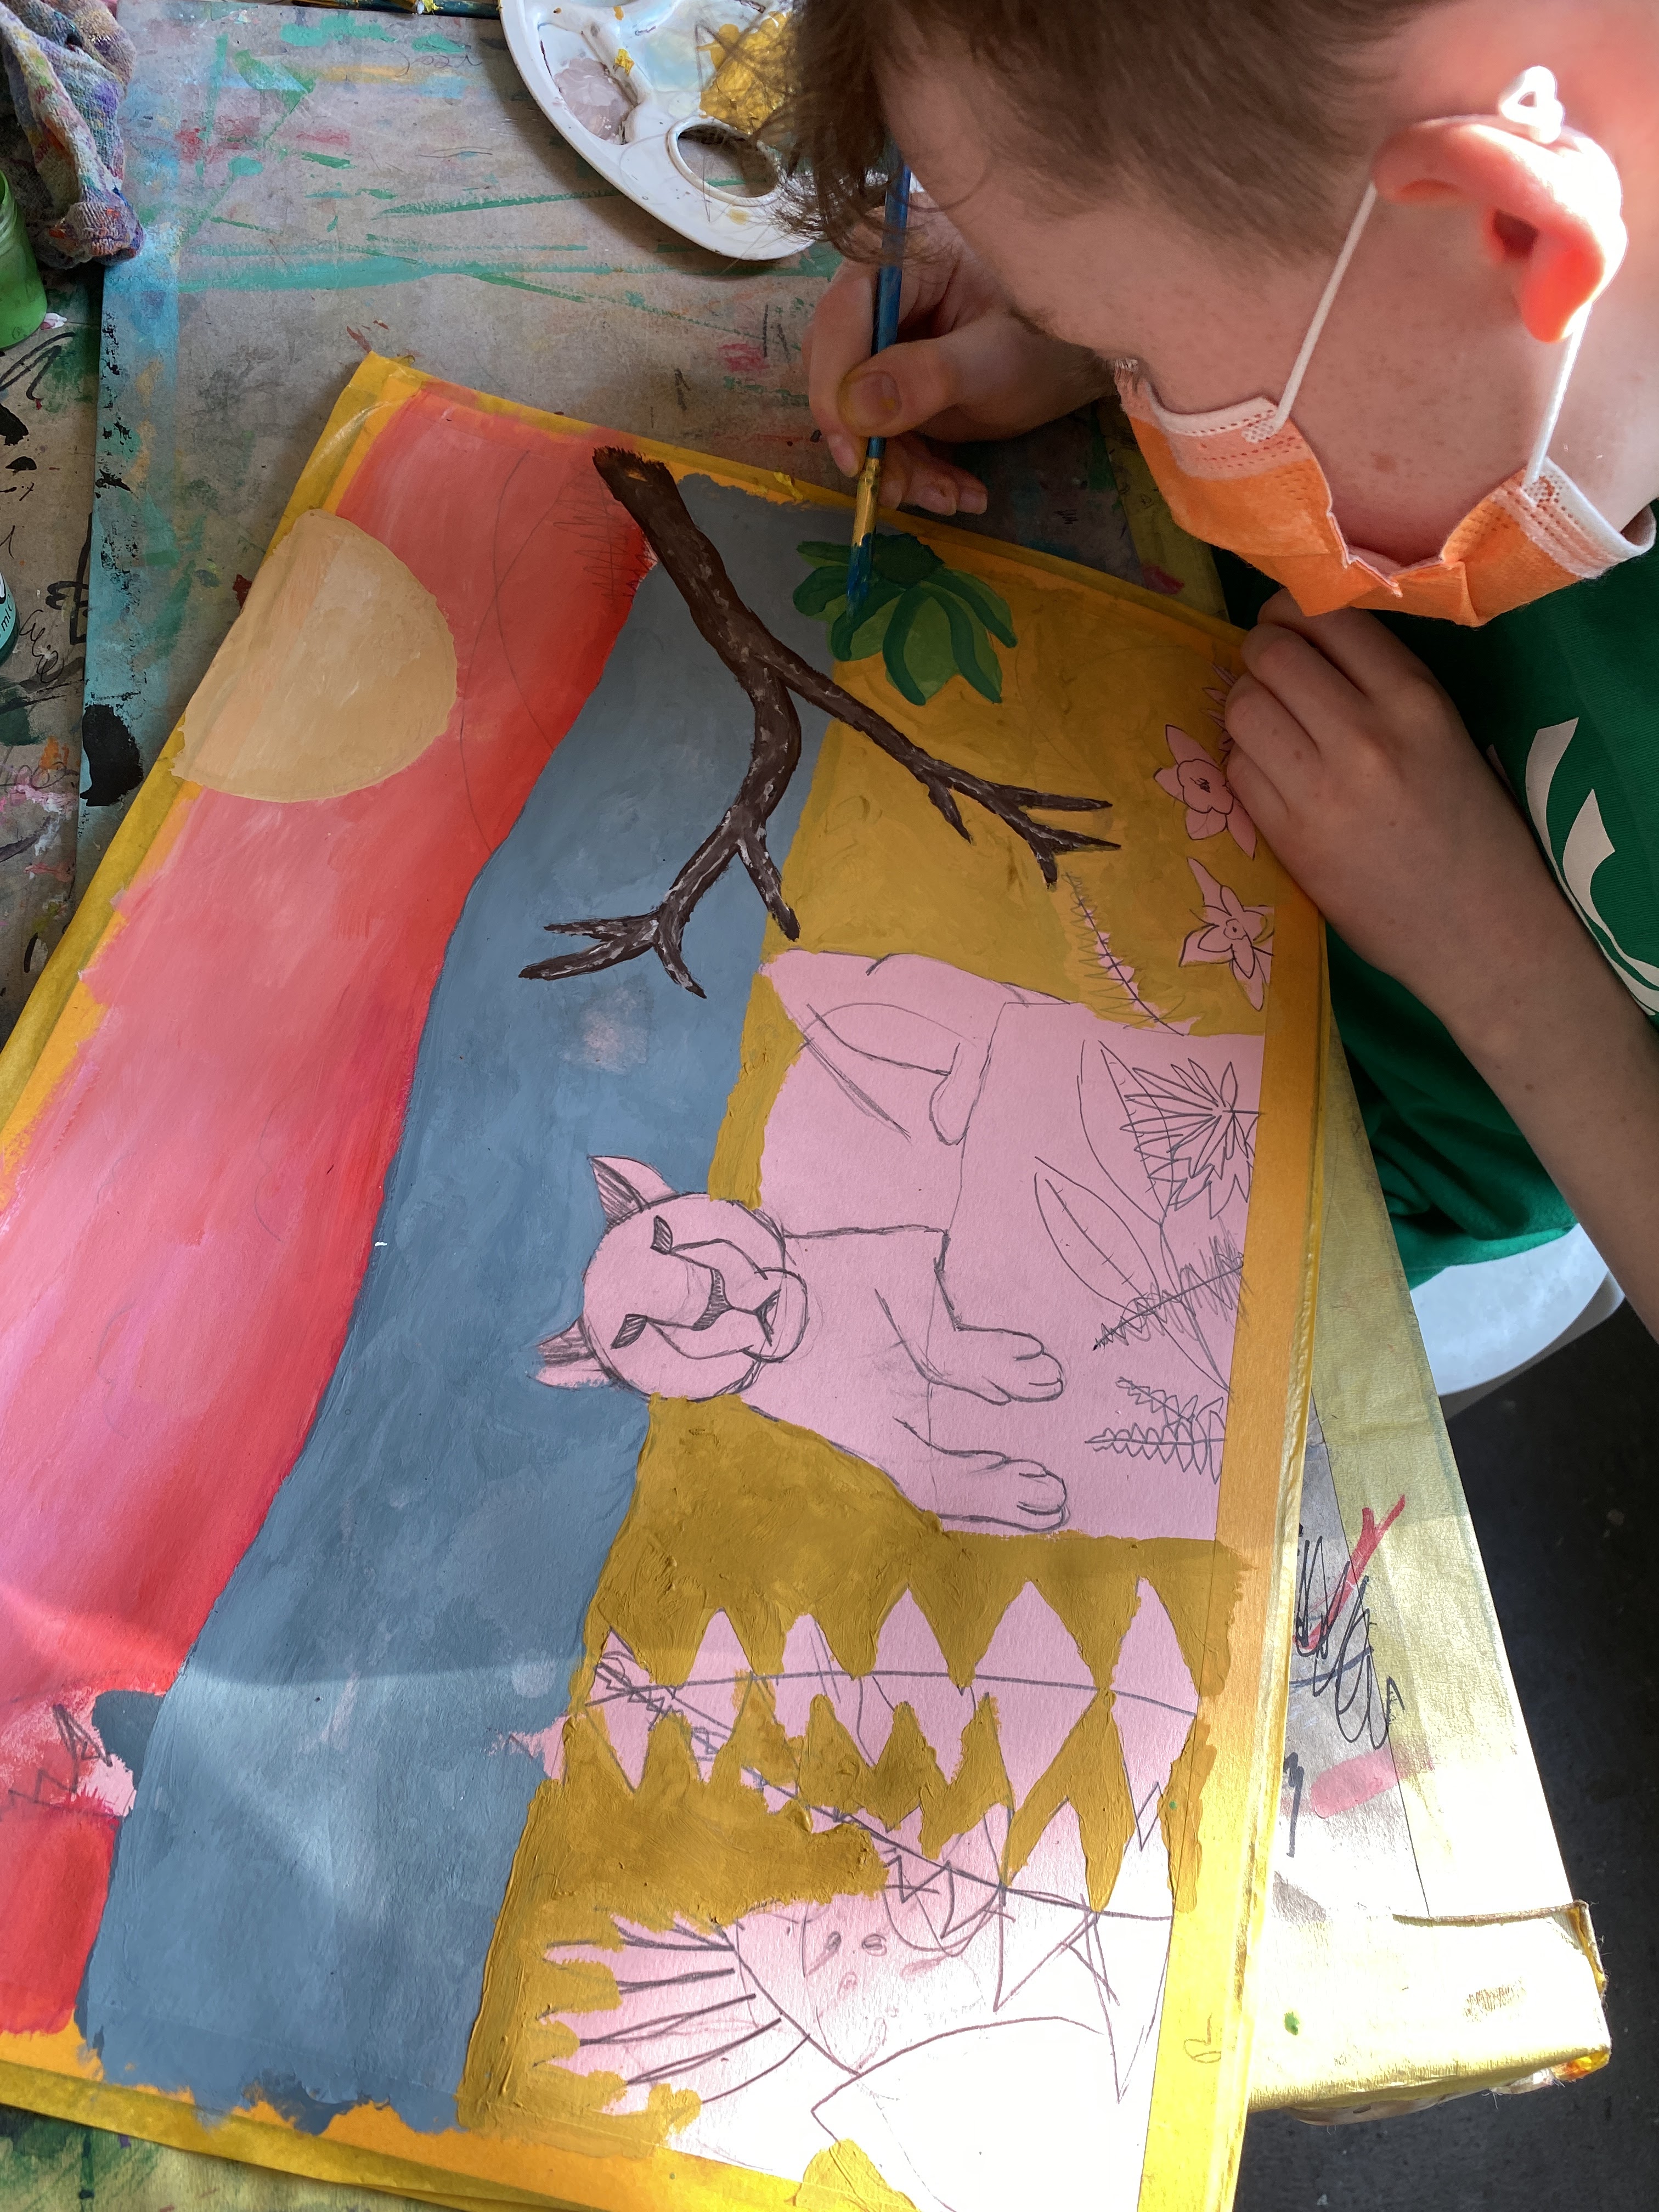
Paint tiger last


FINISHED WORK


Monstera Leaf (Negative Space Painting on Painted Paper)

My all-time favorite surface to paint on is painted paper. I never throw out the paper that covers our work surface. We use these paper covers to scribble, draw, test media, wipe off brushes, smear excess paint and generally, let loose. After a few months I replace these covers with clean paper, but I save and cut down this ‘painted paper’ for future projects. I especially like to use these papers in projects using collage and negative space painting. 

This Monstera Leaf in Glass Vase is such a project. The only paint students used for this project was white acrylic. The painted paper (and our monstera drawing skills) did all the rest! The results are so beautiful. I love the unexpected colors, marks, textures and variations in the positive space, while the contrasting white of the negative space creates a stillness, a calm, visual rest.... and allows us to admire the monstera in all its simple beauty.


Class collage

Step 1: Students chose a painted paper that they liked. They were encouraged to think beyond greens, as this is not a realistic rendering of the monstera, and to simply choose a paper that they liked for its colors, textures and marks. So many beautiful papers to choose from!

Process

Painted paper

Painted paper

Step 2: Drawing practice
Students practiced drawing monstera leaves on scrap paper. As with all drawing, we break this process down into basic shapes. The monstera leaf almost looks like an irregular heart shape. With this shape in place, we then draw the cut-outs, indents, and holes that create that interesting monstera leaf. Students are encouraged to look at these 'negative spaces' of the monstera leaf shape in detail, and observe how the shapes curve, angle and round. The result is pointy, irregular and curved leaf strands (the positive space). Sounds tricky, but it's all about observation. 

Step 3: Draw on big paper
Students visualize their monstera on the large painted paper. They draw their monstera LARGE on the top half, and a vase of their choice on the bottom half. We used white colored pencil (or white chalk pencil) to draw on our painted paper because it shows up better than pencil. Remind students that the vase should be curved at the opening and the bottom. They should draw ellipses to establish the opening, the water level in the vase (optional), and the bottom of the vase. 

Step 4: Negative space painting
Using a medium flat brush, students paint the larger negative space area around their monstera using white acrylic. NOTE: Any color could be used for this step. Depending on the colors in the painted paper, students could use any contrasting color, e.g. black, light blue, red etc. I like the high contrast of the white though. With a smaller brush, students paint the indents, openings and holes in their leaf. We painted two layers of white for brighter, more opaque coverage.

Step 5: Vase
For the vase, students were encourage to think of how glass might reflect light, and just paint a few shapes in their vase. Remind students that reflection shapes are likely curved, since the vase itself is curved. Important is that the negative space of their stem is visible and offset by some white.


Tracing contours

Close-up for outlined contours

Close-up for outlined contours
Above, blue, red and purpose outlines were used, to match the colors in the leaf.

Step 6: Refine and clean edges

Student establish what the main colors are in their monstera, and choose 2-4 colored pencils that match these colors (for strong contrast, the darker the colors, the better - dark blue, dark purple, dark green, etc.). All the contours and white shapes are outlined in one of these colors. Students regularly switch to another color at a different section of their monstera. 

That's that! Students were pleased with their work, and enjoyed this process. 

It took 90 minutes to complete, for ages 9-11.