
 |
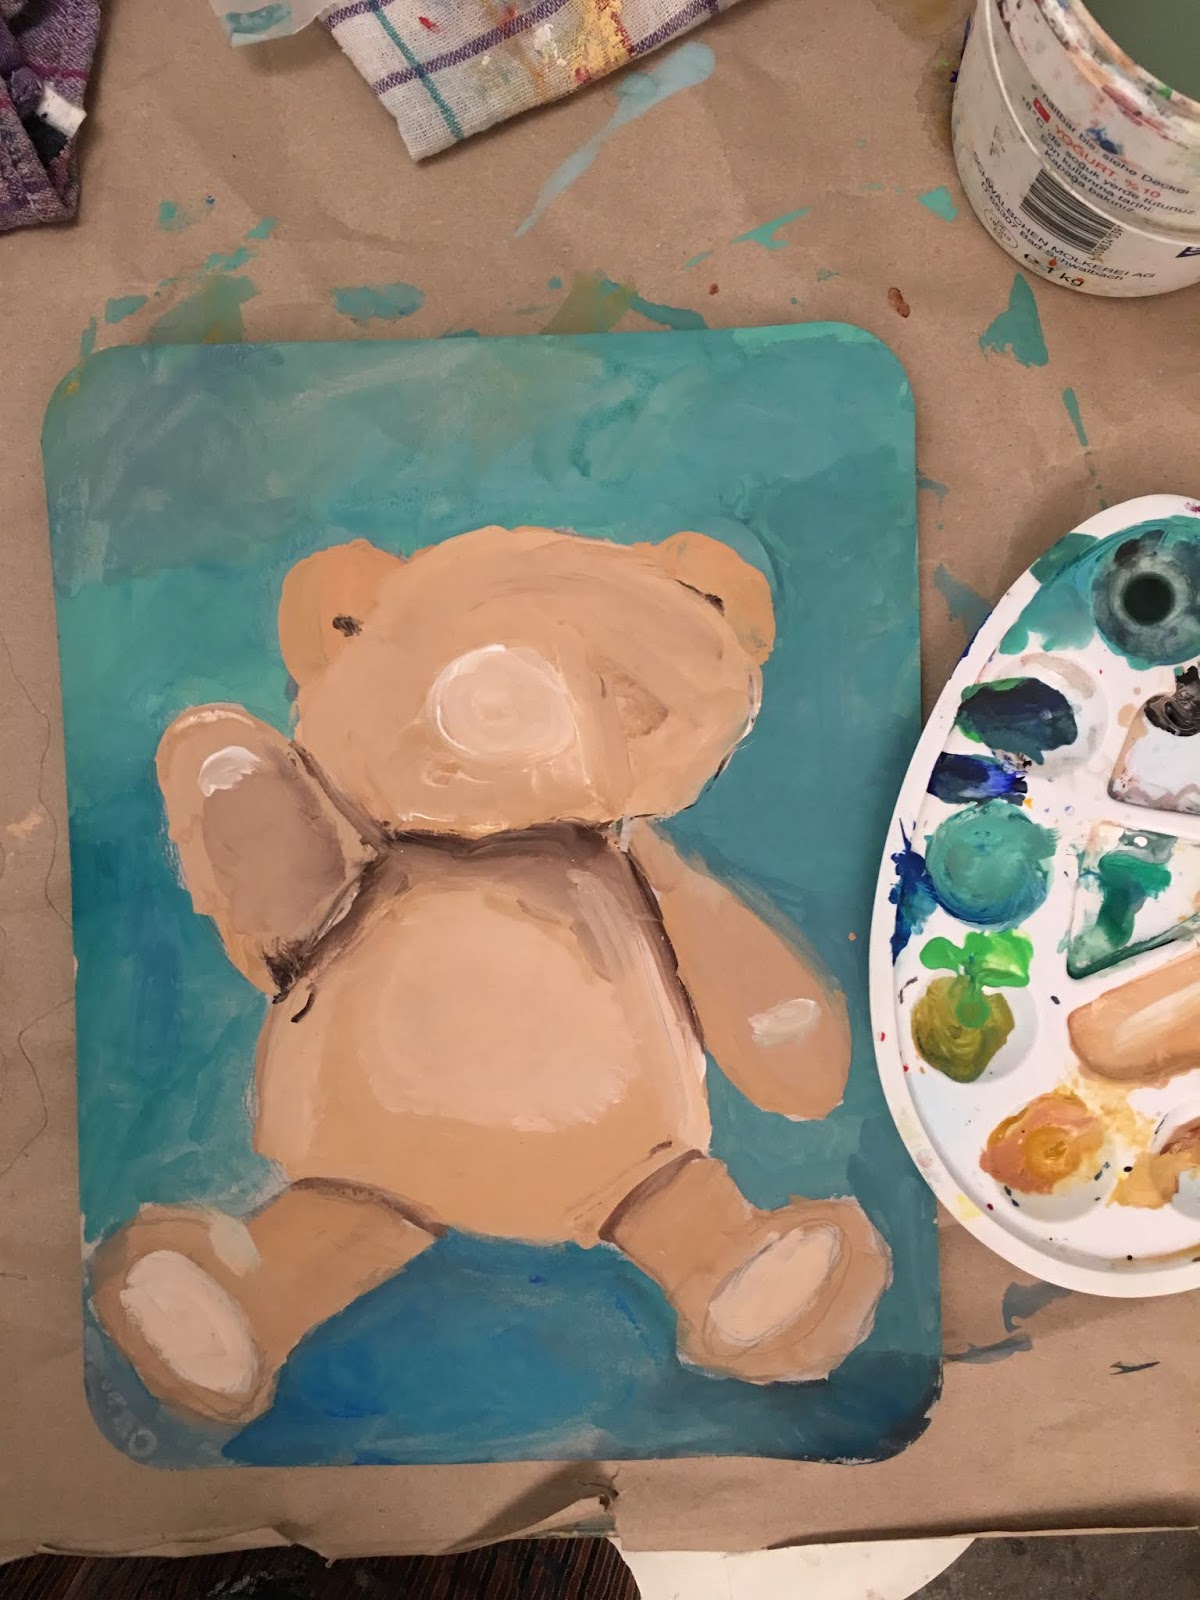
| Teacher Sample |
 |
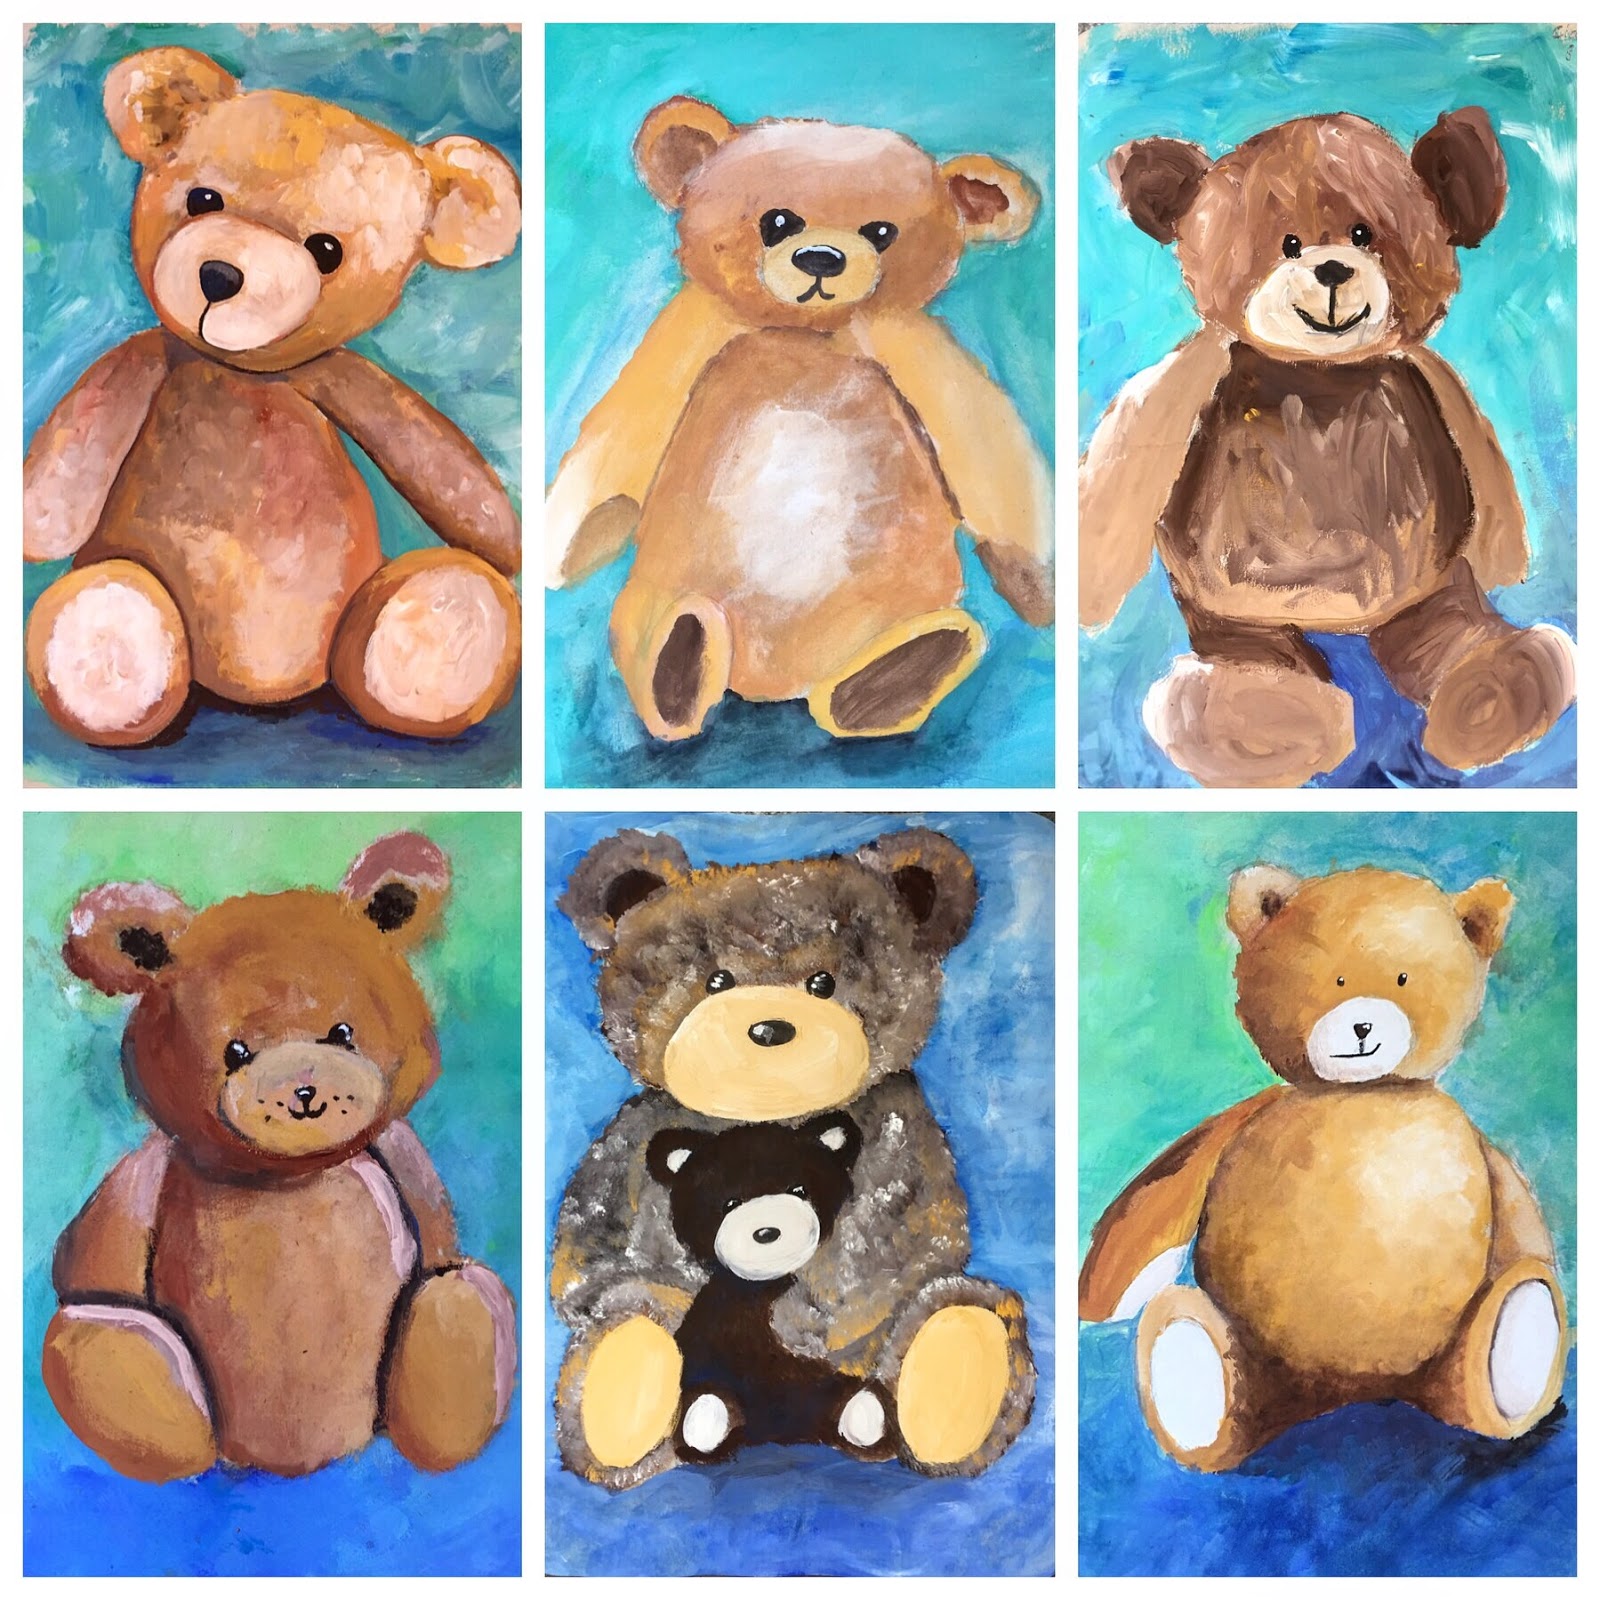
| Teacher Sample |

I feel like I talk about VALUE all the time in the Art Room. It's such an important art principle. Without it, we wouldn't have form, dimension or contrast. Art would be flat, dull and boring. Despite my value obsessiveness, I don't think I've ever done a project with my students where value was the main prerogative. I decided to go for a grey-scale project, so my kids could dive in head first.
VALUE GREY-SCALE
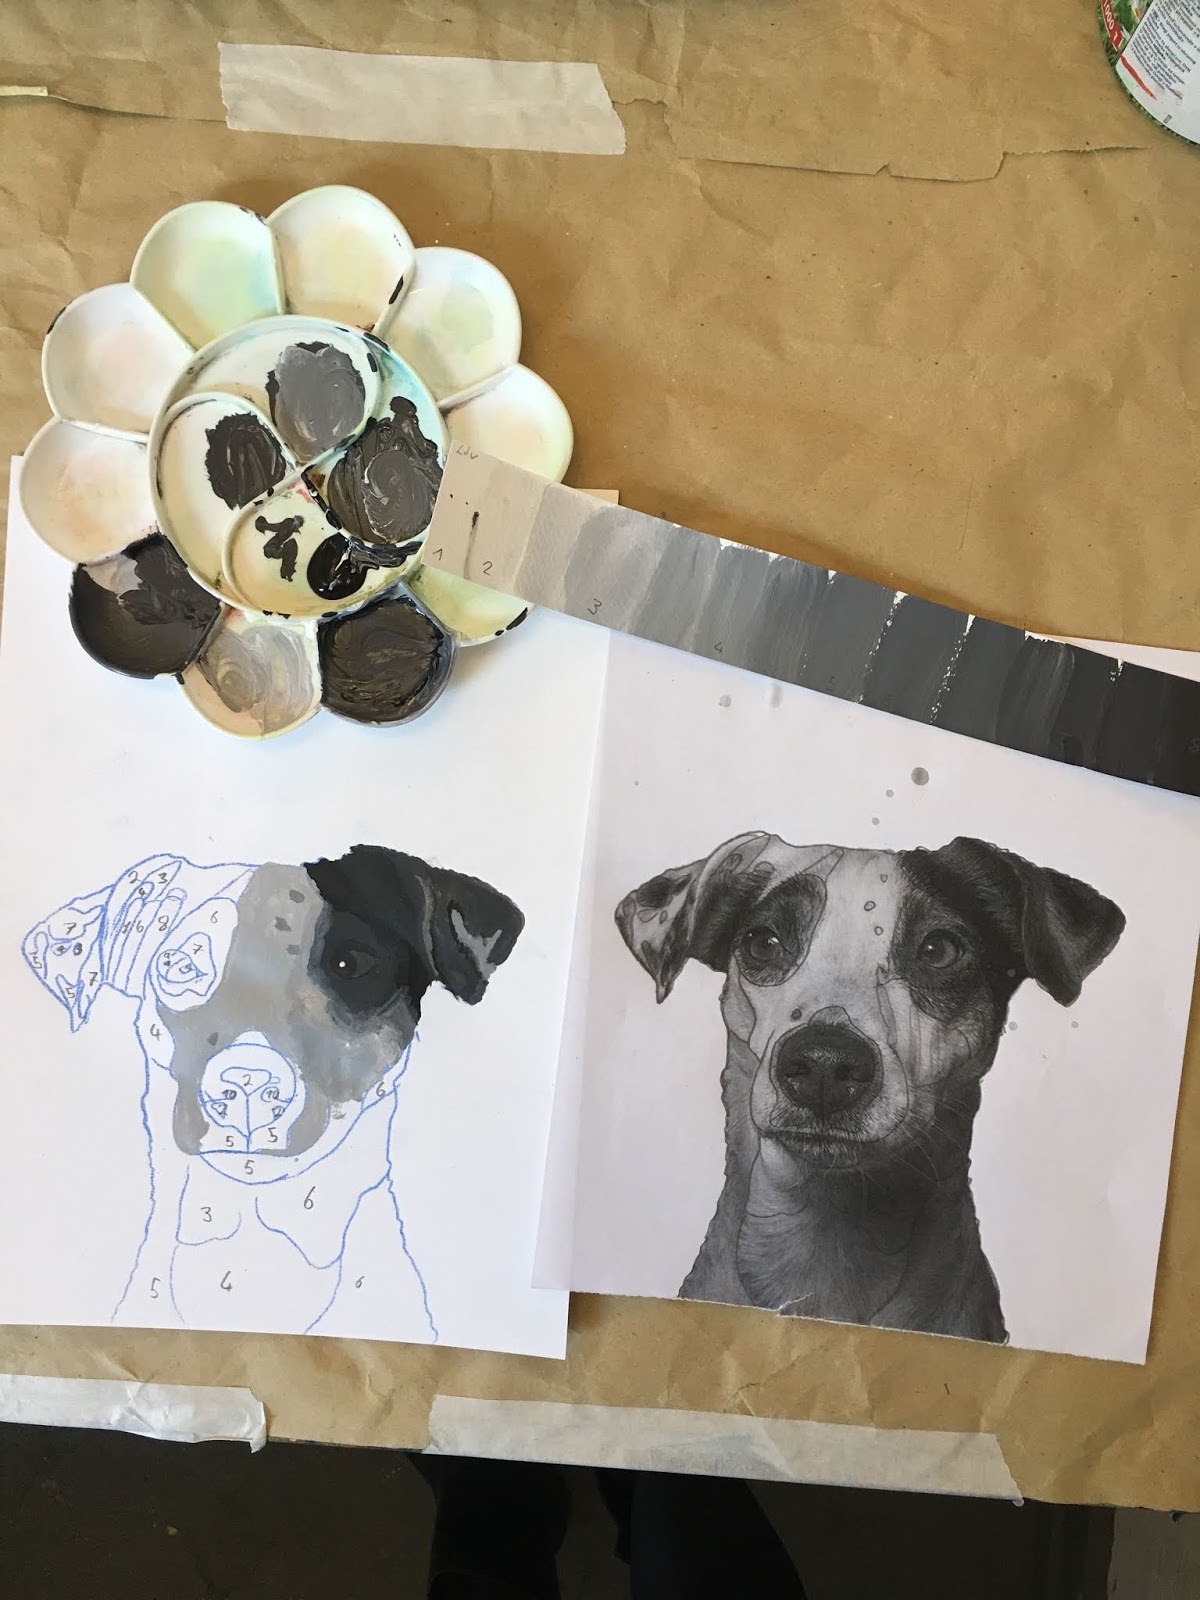
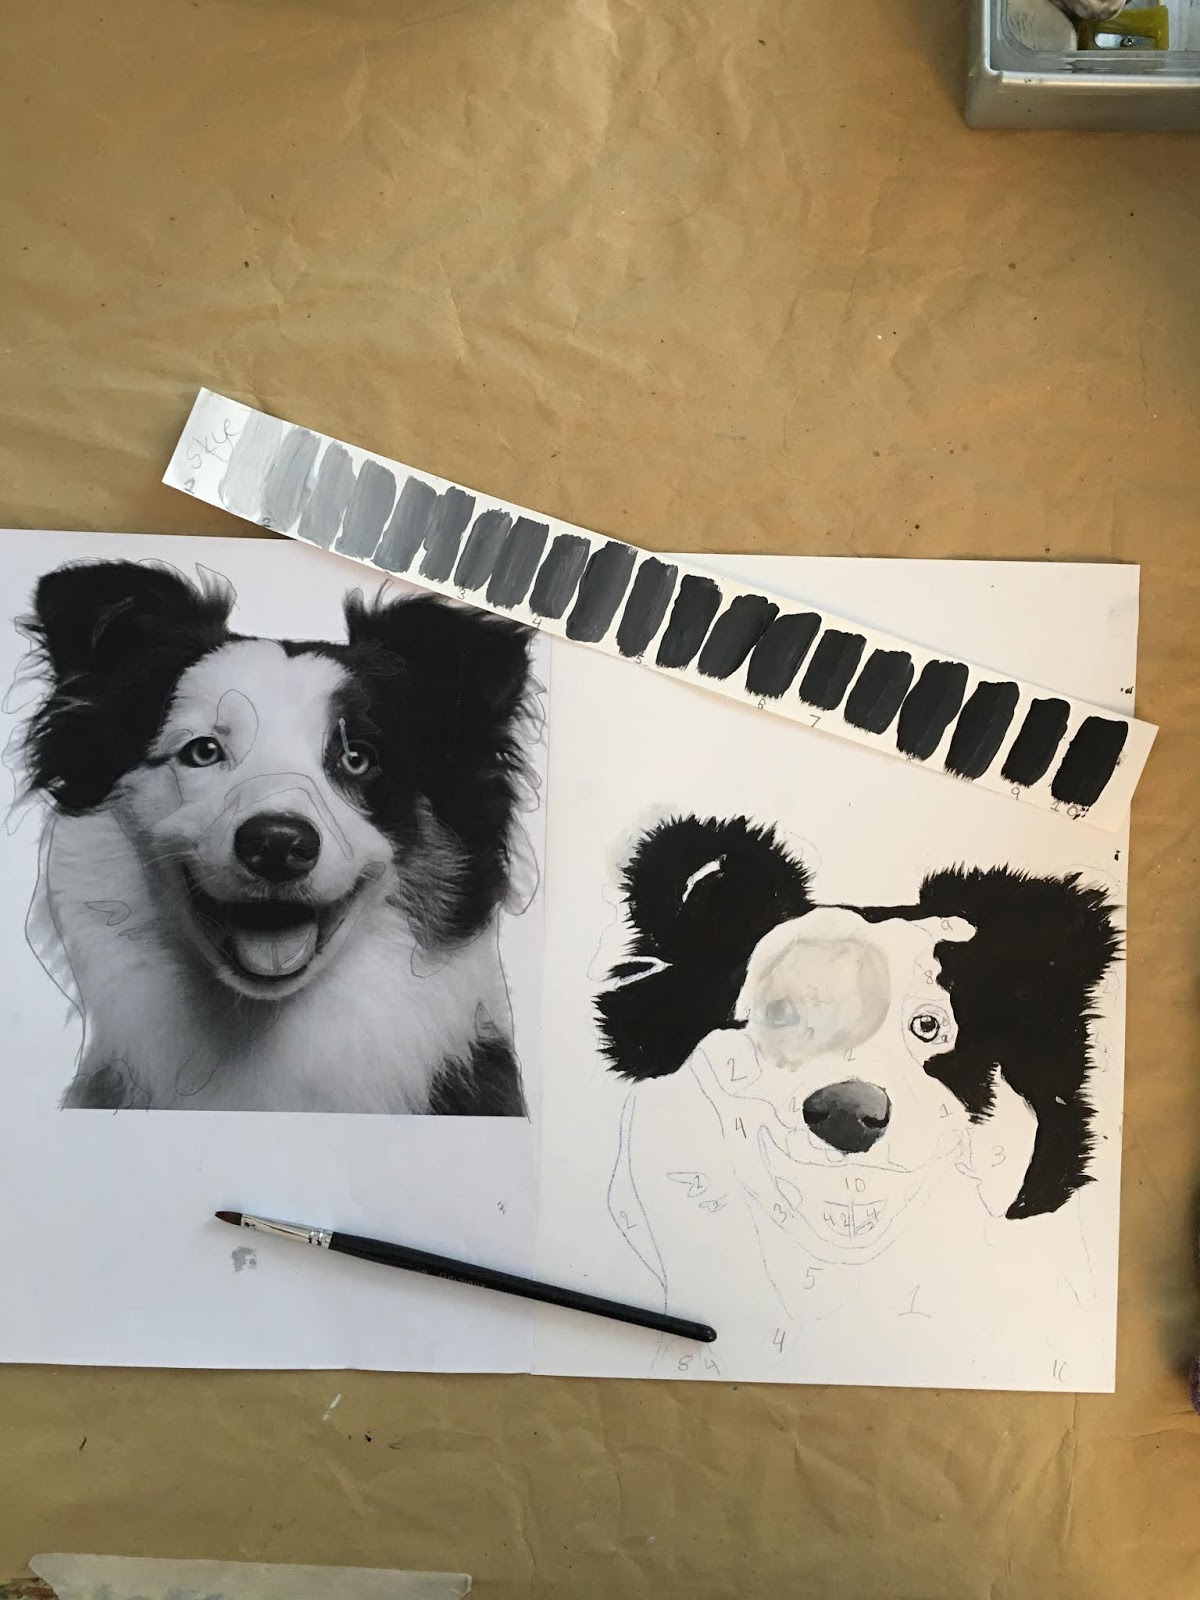
Students were given a long strip of watercolor paper and black and white acrylic paint. They were to create a value grey-scale from pure white to pure black. We started with only white, and painted a brush stroke of white on our strip. Then added the tiniest amount of black to our white paint and created a brushstroke of this color. Then more black, and more black and more black, until we were at pure black. Some students required 20 or more brushstrokes of color to get to pure black, others required only 10. No matter, we circled the 10 most evenly spaced exemplars from 1-10. These ten values would be our value scale.
REFERENCE PHOTO
I printed out lots of dog portrait photos from the internet on regular sized A4 printer paper. I adjusted the size to make them as large as possible. Students chose their favorite dog. We had fun choosing the dog that best fits to us, our character, or somehow resembles us physically. This exercise resulted in loads of laughs.
 |
| Sampling of reference photos |
IMAGE TRANSFER
Since this project's focus was on value, not on drawing, we traced our dog photo instead of drawing it out using the grid method. This also will give us super realistic results in the end, and feels a bit like putting together a puzzle with value.
 |
| Transferring image with blue transfer paper |
 |
| Contours and value shapes traced |
We used transfer paper to transfer the photo onto our good painting paper (we used watercolor paper). We placed a sheet of transfer paper under our image and on top of our painting paper. Holding it firmly in place, we traced all the contours and details of our dog (head, ears, nose, eyes, etc) and then traced all the value shapes we saw. Basically, we looked at the different values as 'shapes' and traced these. We then numbered these values shapes 1-10, based on how they matched up with our value scale.
VALUE PAINTING
With our value shapes numbered, and with our value scale as our guide, we created grey tones with our black and white paint, and simply painted in our values. My students really enjoyed this process, and kept saying it felt like 'paint by number'. Except better, since we created this 'paint by number' all by ourselves!
As always, special attention was paid to the eyes. Getting these right is so important. It's where the heart and soul of any animal is, and it's the feature that draws in the viewer. We used a small detail brush for this area.
Many students chose to start their painting with the eyes. From there, they either addressed values light to dark (1-10), or dark to light (10-1). Either way works.


BACKGROUND
Backgrounds were painted in a bright color. Some students chose to paint in two colors or two layers. Some applied a solid, flat coat of color, others uses their brush in a stippling motion with two colors to create texture. Some students used a tape roll to stamp circles into their background.


Students were wowed by how realistic their dogs looked. I was floored by their results! Tracing the image, numbering the value shapes, and using our grey-scale as our reference, really made it all possible.
This project took two 90-minute classes.
 |
| age 13 |
 |
| age 10 |
 |
| age 10 |
 |
| age 9 |
 |
| age 9 |
 |
| 9-11 year olds |
 |
| 8-14 year olds |


