Friday, September 29, 2017

Elizabeth Rosen-inspired mixed-media collage with horse, barn and birch trees

These mixed-media collage pieces were inspired by NY-based paper artist Elizabeth Rosen. 
This was a multi-step process project which took us two lessons to complete.

Week 1: We drew a horizon line on our 30x40 cm multi-medium paper with pencil, and painted everything above it with red acrylic paint. Next, we layed down rows of square collage paper, glueing each down with gel medium underneath and again over top to seal it. I had precut these squares from old book paper, music paper and painted paper, ensuring there is a variety of text size, shape and pattern. Students were encouraged to think about variety and balance when choosing and collaging their squares. Then we created a green acrylic wash by adding lots of water to our green acrylic paint, and painted over the squares to make it look like grass. We wanted our paint to be transparent so we could still see through to the beautiful collage papers, so making that wash thin was important. 
Painting the red sky

Week 2: The next lesson we learned a new concept and new skills: negative space, and trace and transfer technique. We traced horse drawings using tracing paper, then turned these over and retraced our lines onto good paper. We were super neat and careful when cutting out our horses, being mindful to leave the 'negative space' in tact. Look at the precision of their cutting! Birch trees were made by painting two long, thin strips of paper with credit cards and black acrylic paint (or tempera). Just tap the edge of the credit card, which has some black paint on it, randomly along the strips of paper horizontally for that birch bark look. The kids loved this. We drew barns on red or orange construction paper with black fine liner, and cut these out. We created a sun/moon by tracing a yogurt lid onto old book paper and painted it in a wash of blue. We pasted all our elements together, mindful of composition.  

At this point the kids have a solid understanding of the qualities, possibilities and characteristics of acrylic paint. They have a strong intuition towards recognizing contrast, variety, emphasis and balance. Amazing work, kids. 

Teacher Sample


Kids 8-14

Kids 7-9

Graffiti Lesson

Teacher Sample

We had such fun with our graffiti pieces! And what a perfect way to start off the new Art Room semester. So many art elements and design element were involved, so it was a great way to review and exercise our skills for the new term. 
We developed our words from a graffiti 'tag' to a shapely graffiti 'throw' and finally to a graffiti 'piece'. Our overlapping, highlights and shadows required careful thinking of shape, space, line and form. We practiced coloring techniques (gradation, value) and reviewed color schemes before choosing our colors. We created a brick wall using pencil and shading. Lastly, we 'tagged' our walls with a symbol or word to accompany our piece. 
These beauties were done by all ages and represent our favorite things, ideas or people. 


Kids 7-12

Kids 5-7
Kids 7-9
Practicing 'tags', 'throws' with shape, shadows and highlights

Wednesday, September 27, 2017

Basquiat Self Portraits with Free Association Elements

Basquiat
Basquiat
You either love or hate Jean-Michel Basquiat (Haiti 1960-New York City 1988). Our featured artist grew up in Brooklyn and began his career as a street and graffiti artist in the streets of NY. He became good friends with Andy Warhol, who supported his artistic endeavors. His art makes political, personal and social statements, often using free association texts, drawings and statements. Basquiat died of a drug overdose when he was 27. Sometimes humorous, sometimes disturbing, his art is every bit as fun as it is heavy. 

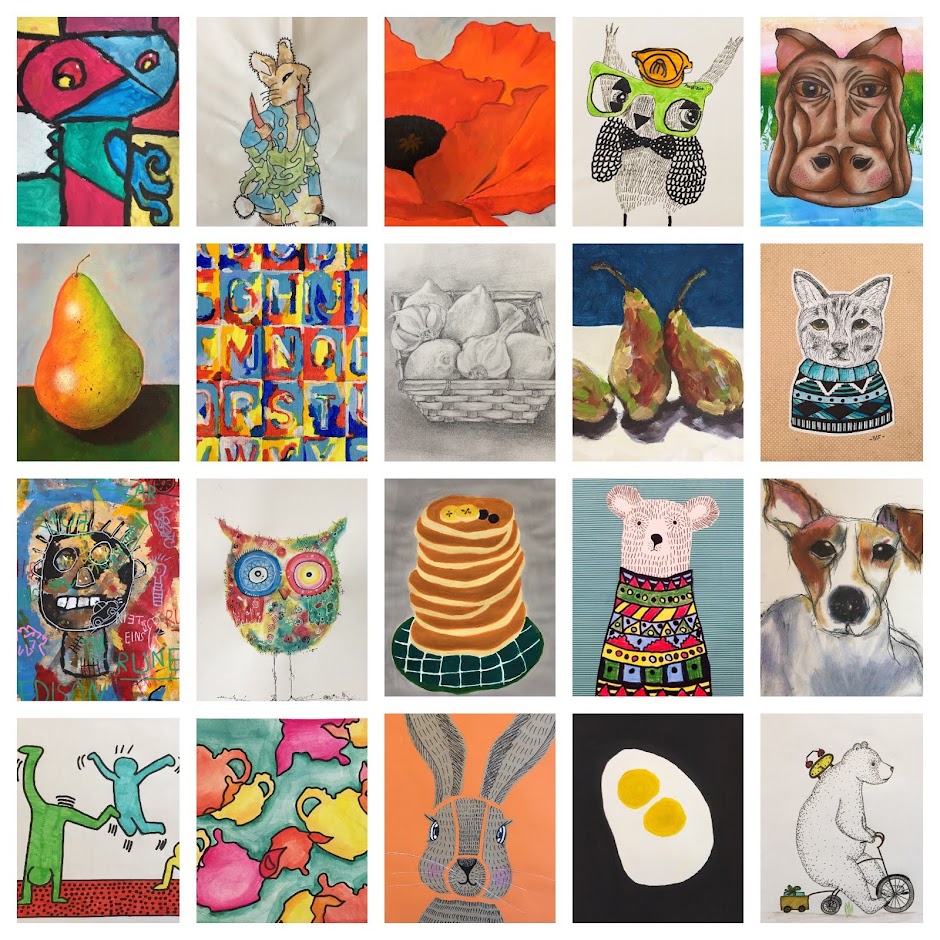
Our little class (6-7 yrs olds) beautifully channeled Basquiat in their self-portraits with free-association elements. Take a close look and get inside the complex minds of our littlest artists. Our older kids, upwards of 7, had a harder time 'letting go'. To help them make personal 'free', 'spontaneous' connections to their portraits, we quickly brainstormed by jotting down some words on paper and drawing images to go along with our words. This helped build the foundation for our free association elements we'd add later around our portraits. 
The paper we used for this project was brown packaging paper, which had served as place mats for previous painting lessons, so it already had random streaks of color and scribbles on it. A great starting point for a Basquiat piece! I cut the large painted paper sheets into 30x40cm sizes, and let the kids choose one they liked.  
I encouraged the kids to think of their self-portraits as very abstract, and closely aligned with  Basquait's style of mask-like features. This means hollow eyes, big mouth with teeth, sometime almost skull-like. The kids enjoyed this - some went wild with creativity and others stayed a bit truer to their own likeness.
We drew our portraits directly with very small brushes, then filled in some areas with extra black in paint using larger brushes. We then added some background colors in primary colors and white, to help emphasize our foreground. The kids were encouraged to not be too neat with this part, but to just lay down some area of color. Once dry, we used fine liners and sharpie markers to write and add drawings. We used acrylic marker pens too. The most important step was using a white gel pen to add white text, color teeth and outline our portraits. This makes our portrait stand out strongly against the wild background. 
Rune, 6


Kids 7-13 years old
Little Class (6-7 year olds)
8-11 year olds


Saturday, September 16, 2017

Acrylic Bluebird Mixed-Media

This project was a step-by-step 'follow-me' lesson on how to draw a realistic bluebird in acrylic paint. It was inspired by Angela Anderson's bluebird tutorial


I initially did this project with my adults last year, and my kids have been begging me to do it with them ever since. I thought it would be too difficult for them, but I finally decided to give it a go, and made it our 'final' project of the spring term. Glad I did, because they turned out so beautifully and the kids were so proud. 
The ones below were done by my 6-12 year olds. 

Be began by cutting to measure and then pasting music sheets to a wooden block. We painted a light coat of brown paint on the music notes to give it a weathered look and to push back the notes a bit. We used acrylic varnish (or mod podge) to dilute the brown paint, to glue and to seal the paper. While this dried we used tracing paper to trace the outline of a bluebird picture. Using carbon paper, we transferred this drawing to our block. (Trace and transfer skills - check!)

We used a small cat tongue brush to create short feathery strokes. We worked in layers, starting with a base coat, then slowly adding top layers, and more texture as we move forward. The tree branch, legs and beak were given shadow and highlights. The eye, of course, a reflection spot.
Super successful. This just goes to show that with a carefully planned out step-by-step tutorial, kids as young as 6 can experience success (and be mega proud!) in super challenging projects.

Magaly Ohika Inspired Gesturing Child Illustration


My adult class was inspired by the beautiful and happy illustrations of Magaly Ohika. See her work here. We analyzed her style, and shapes and her use of gestures to create strories about childhood innocence and friendships. We created our own unique child illustration inspired by her style. We drew in pencil, then traced in permanent fine-line marker. We used watercolores in transparent layers, and were mindful of shadow and light to create that etherial, soft look Ohika is so good at. Lastly, we added definition in colored pencil.

Color Matching with David Scheirer Illustrations

The adult class began with an exploration of color mixing with watercolors. We created an 8 squares by 8 squares chart and turned a simple palette of 8 standard colors into 64 colors ranging from bright and bold to earthy and subdued. For a tutorial on this, see here

Today, we were inspired by American illustrator and artist David Scheirer. See his work and blog here

We chose one of this beautiful landscape with animal illustrations, and our job was to copy his illustration and attempt to match his colors using our watercolor chart. First we mapped out the drawing with pencil, then traced our lines in permanent marker (fine-liner). We made sure to vary our pen line thickness for variation and to create perspective, and depth. Watercolor techniques were also used to mimic David's texture, layering and tones, including wet-on-wet, slowly building up layers from light to dark, and increasing opacity as we layer. Beautiful work ladies!


Little kids: Basquiat-Inspired Self-Portraits with Free Association


You either love or hate Jean-Michel Basquiat (Haiti 1960-New York City 1988). Our featured artist grew up in Brooklyn and began his career as a street and graffiti artist in the streets of NY. He became good friends with Andy Warhol, who supported his artistic endeavors. His art makes political, personal and social statements, often using free association texts, drawings and statements. Basquiat died of a drug overdose when he was 27. Sometimes humorous, sometimes disturbing, his art is every bit as fun as it is heavy. 

My 6-7 yrs olds beautifully channeled Basquiat in their self-portraits with free-association elements. Take a close look and get inside the complex minds of my littlest artists.


Aditri 7
Rune 6 


Elena 6

Mei Mei 7

Daniel 7

Yiming 6
We began by looking at and discussing several of Basquiat's paintings. The kids pointed out that there are faces, words, sentences, drawings, nonsense text and lots of colors. We then talked about creating our own self-portrait, and thought of some words or drawings that might accompany our portrait (these can be anything you freely associate with yourself). 

I decided to forgo the usual crisp white paper for this project and instead had the kids paint their portraits on painted paper. I cut brown packing paper, which had previously served as table protectors and were full of paint and scribbles from previous art classes, into 12x15 sizes. This added to that Basquiat look of a scribbly, random, messy background. The kids chose the paint paper they wanted. We 'drew' our face with a tiny brush and black acrylic paint. Then added some areas of blue, yellow and red to frame our face and add some bursts of color. Next, we got our our black permanent makers and fine liners, our white gel pen, and our acrylic paint pens and added our free-association elements. We were mindful of thinking of balance and harmony - placing our elements thoughtfully around the painting. Lastly, we 'traced' along the black edge of our portrait with a white gel pen to make our face pop out and give us the contrast and focus it needs to stand out against a busy background. These turned out so beautifully, and each is so unique to my students.