|
Teacher Sample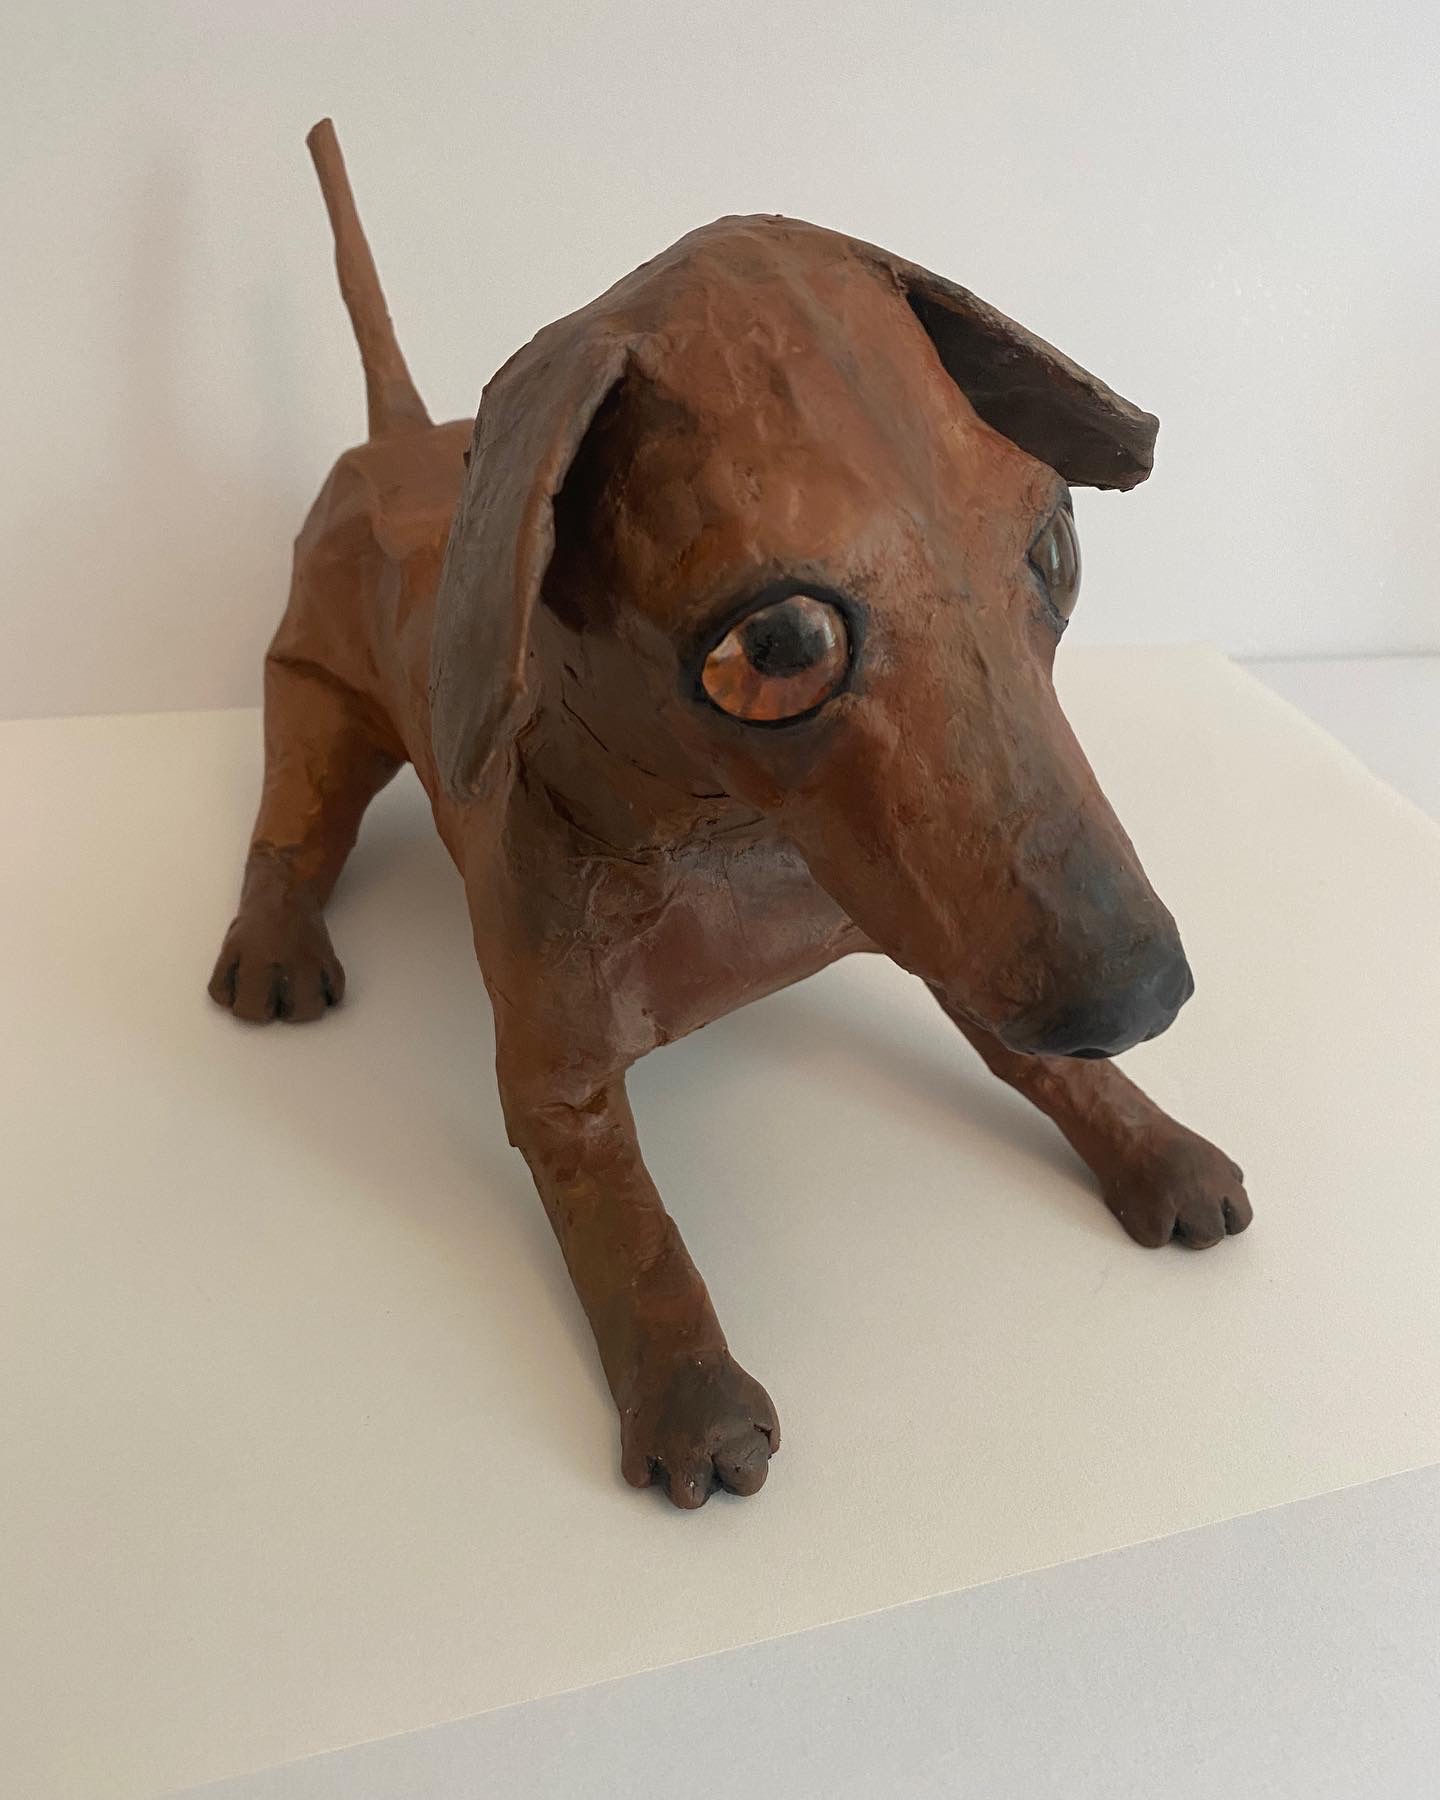 |
I was eager to make a dog sculpture with my students, and was searching for something using paper maché and newspaper. I came across this dog sculpture tutorial and knew this would be challenging and engaging yet manageable to do with my 9-13 year old group.
Day 1
For our body armatures, we used newspaper with cardboard and rolled up magazine paper for support and structure. For our legs, we scrunched newspaper together to create thick upper thighs and thinner legs. We taped these onto our body. This gave our dogs realistic looking thigh muscles. We added cardboard stacks to add height to the neck, and then made the head with a simple ball of newspaper. The snout was made with two pieces of curbed and rounded cardboard - one for upper jaw, one for lower jaw (slightly smaller than upper). These were taped onto the head, the head taped onto the cardboard neck.
Ears were simple cardboard pieces cut in ear shapes and either taped up or down. Tales were rolled up magazine paper taped to the behind.
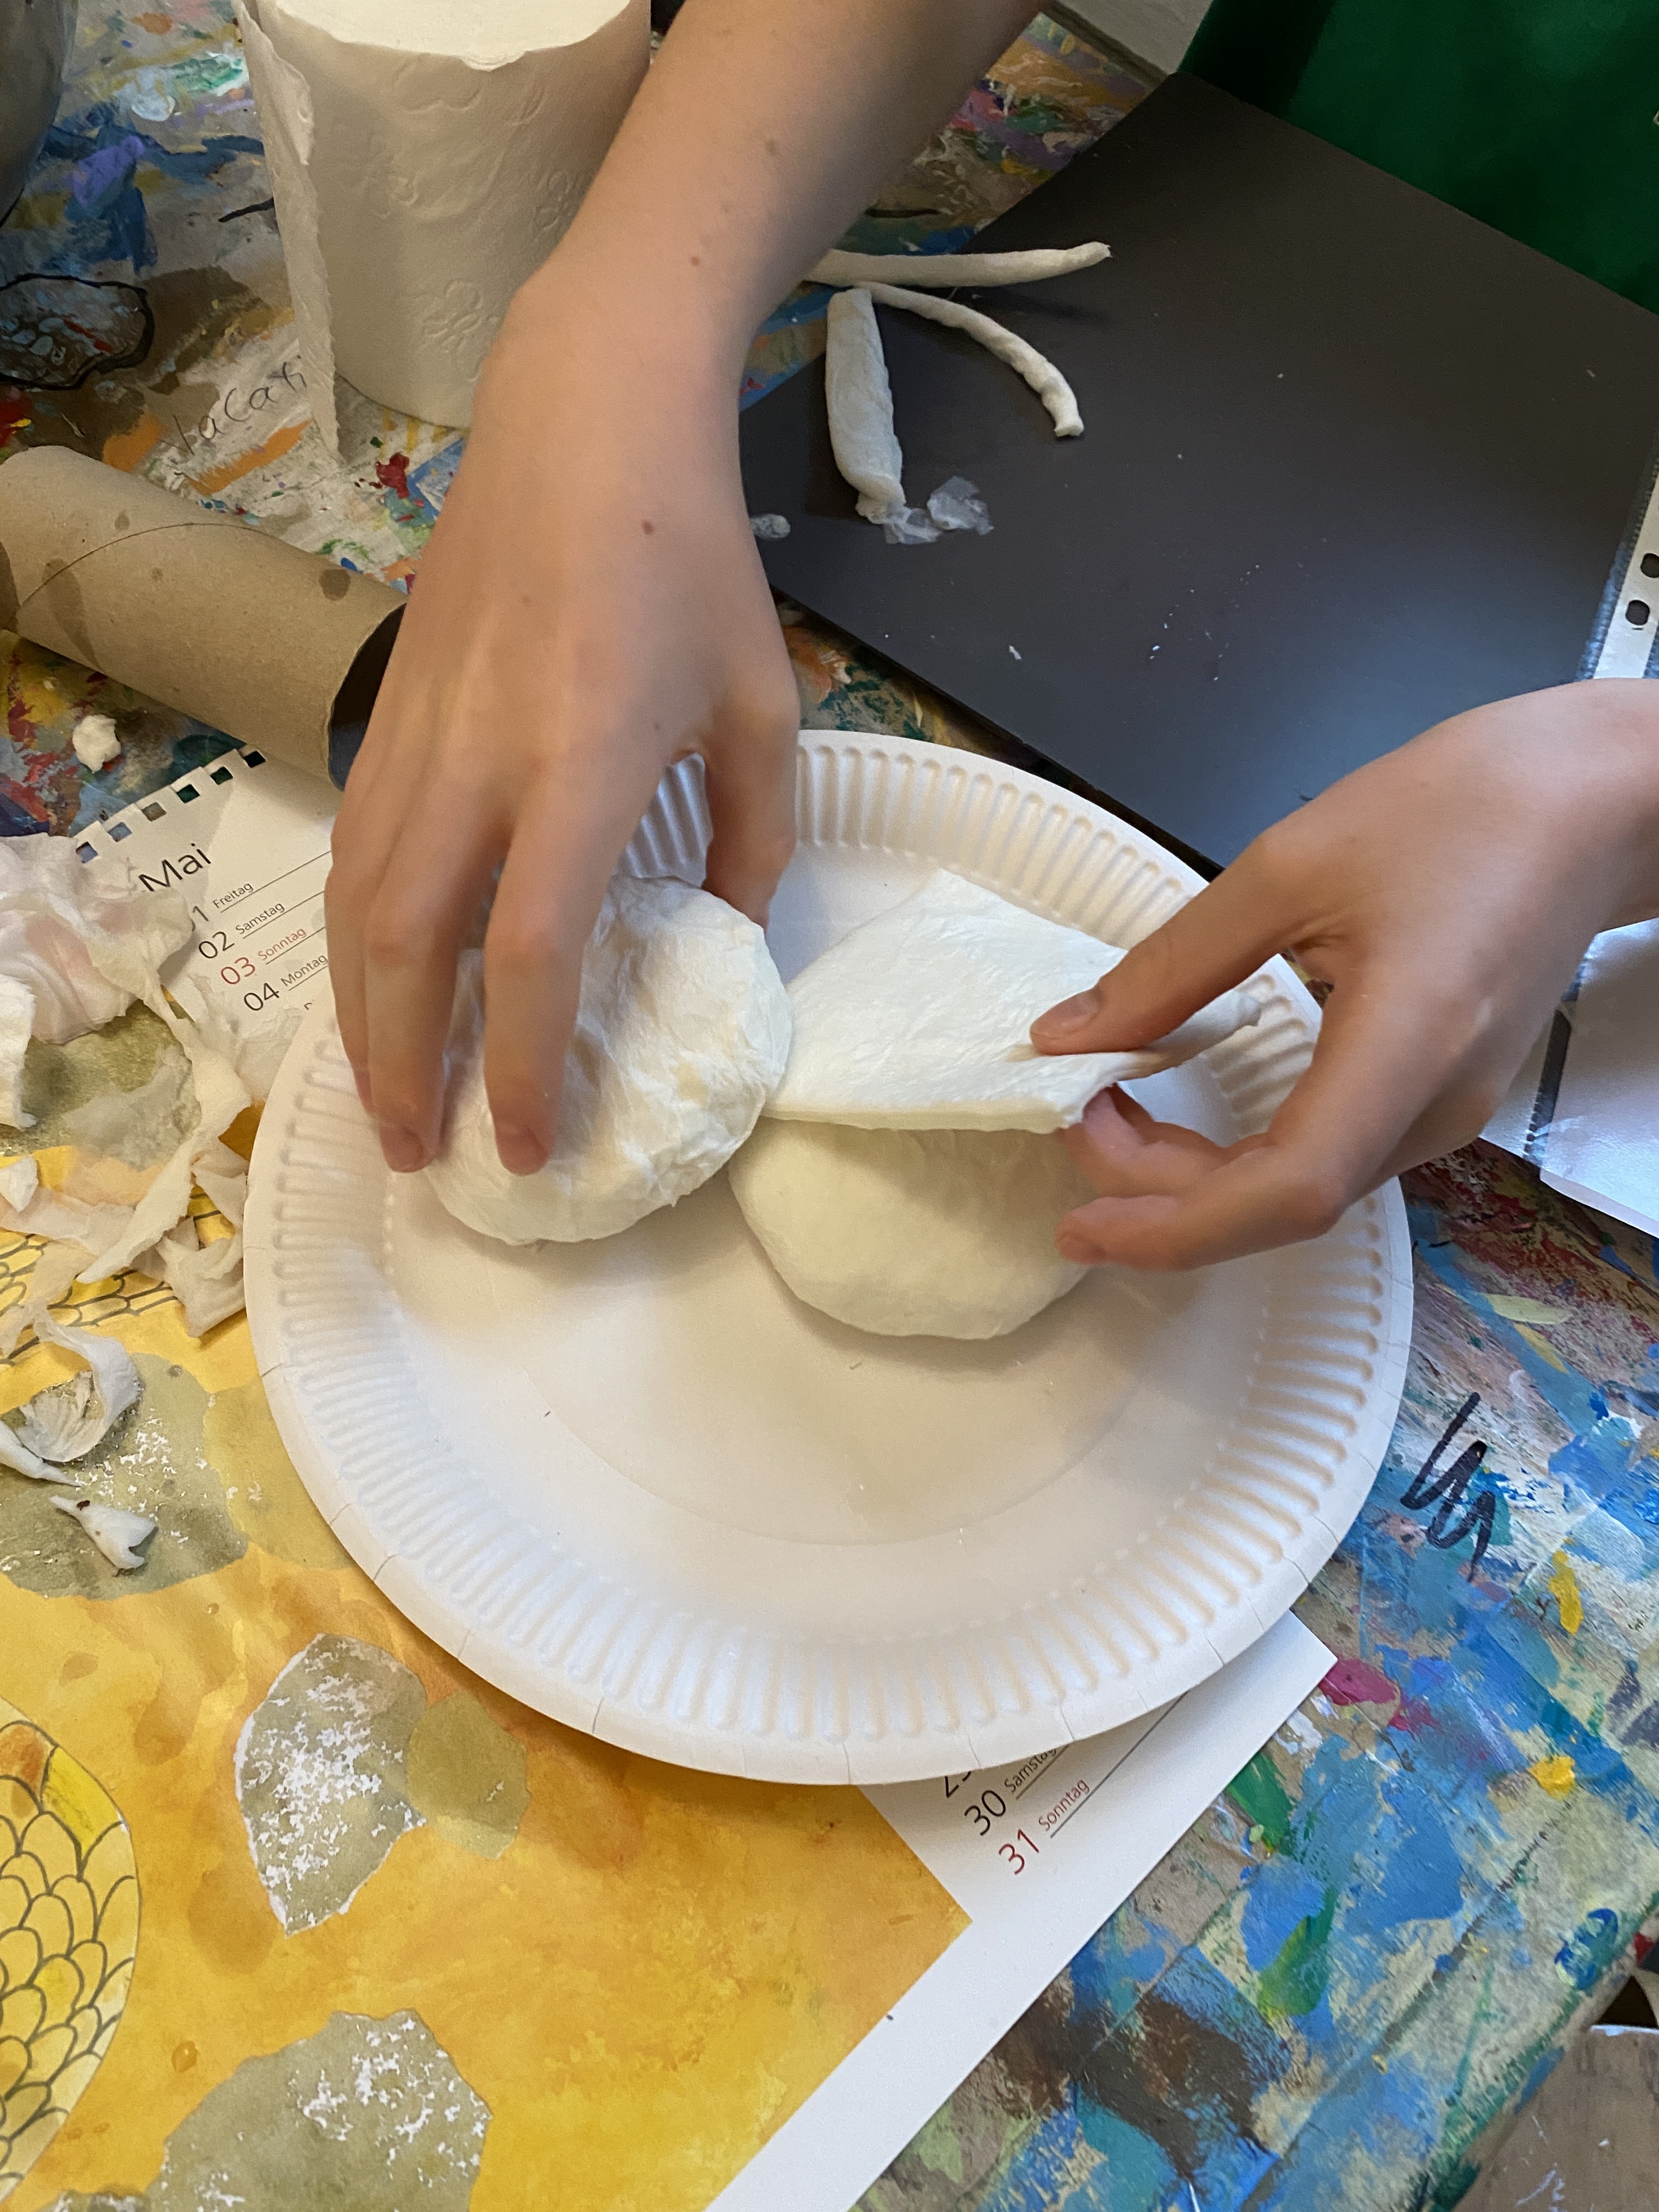
Day 2
We made our own paper maché paste using simply water and flour. We dipped strips of paper into the paste, and layered piece by piece over our sculptures, overlapping each piece slightly and smoothing it out. This process made our dogs sculptures increasingly heavy, and we found that adding support structures to our dogs while working prevented the legs and tails from collapsing under the wet weight. We use plastic cups, plastic bottles and yogurt buckets to rest our dogs on while working. We also used these support elements during the drying process. This allowed us to prop up our dogs, their tail and legs for drying.
 |
| torso |


Day 3
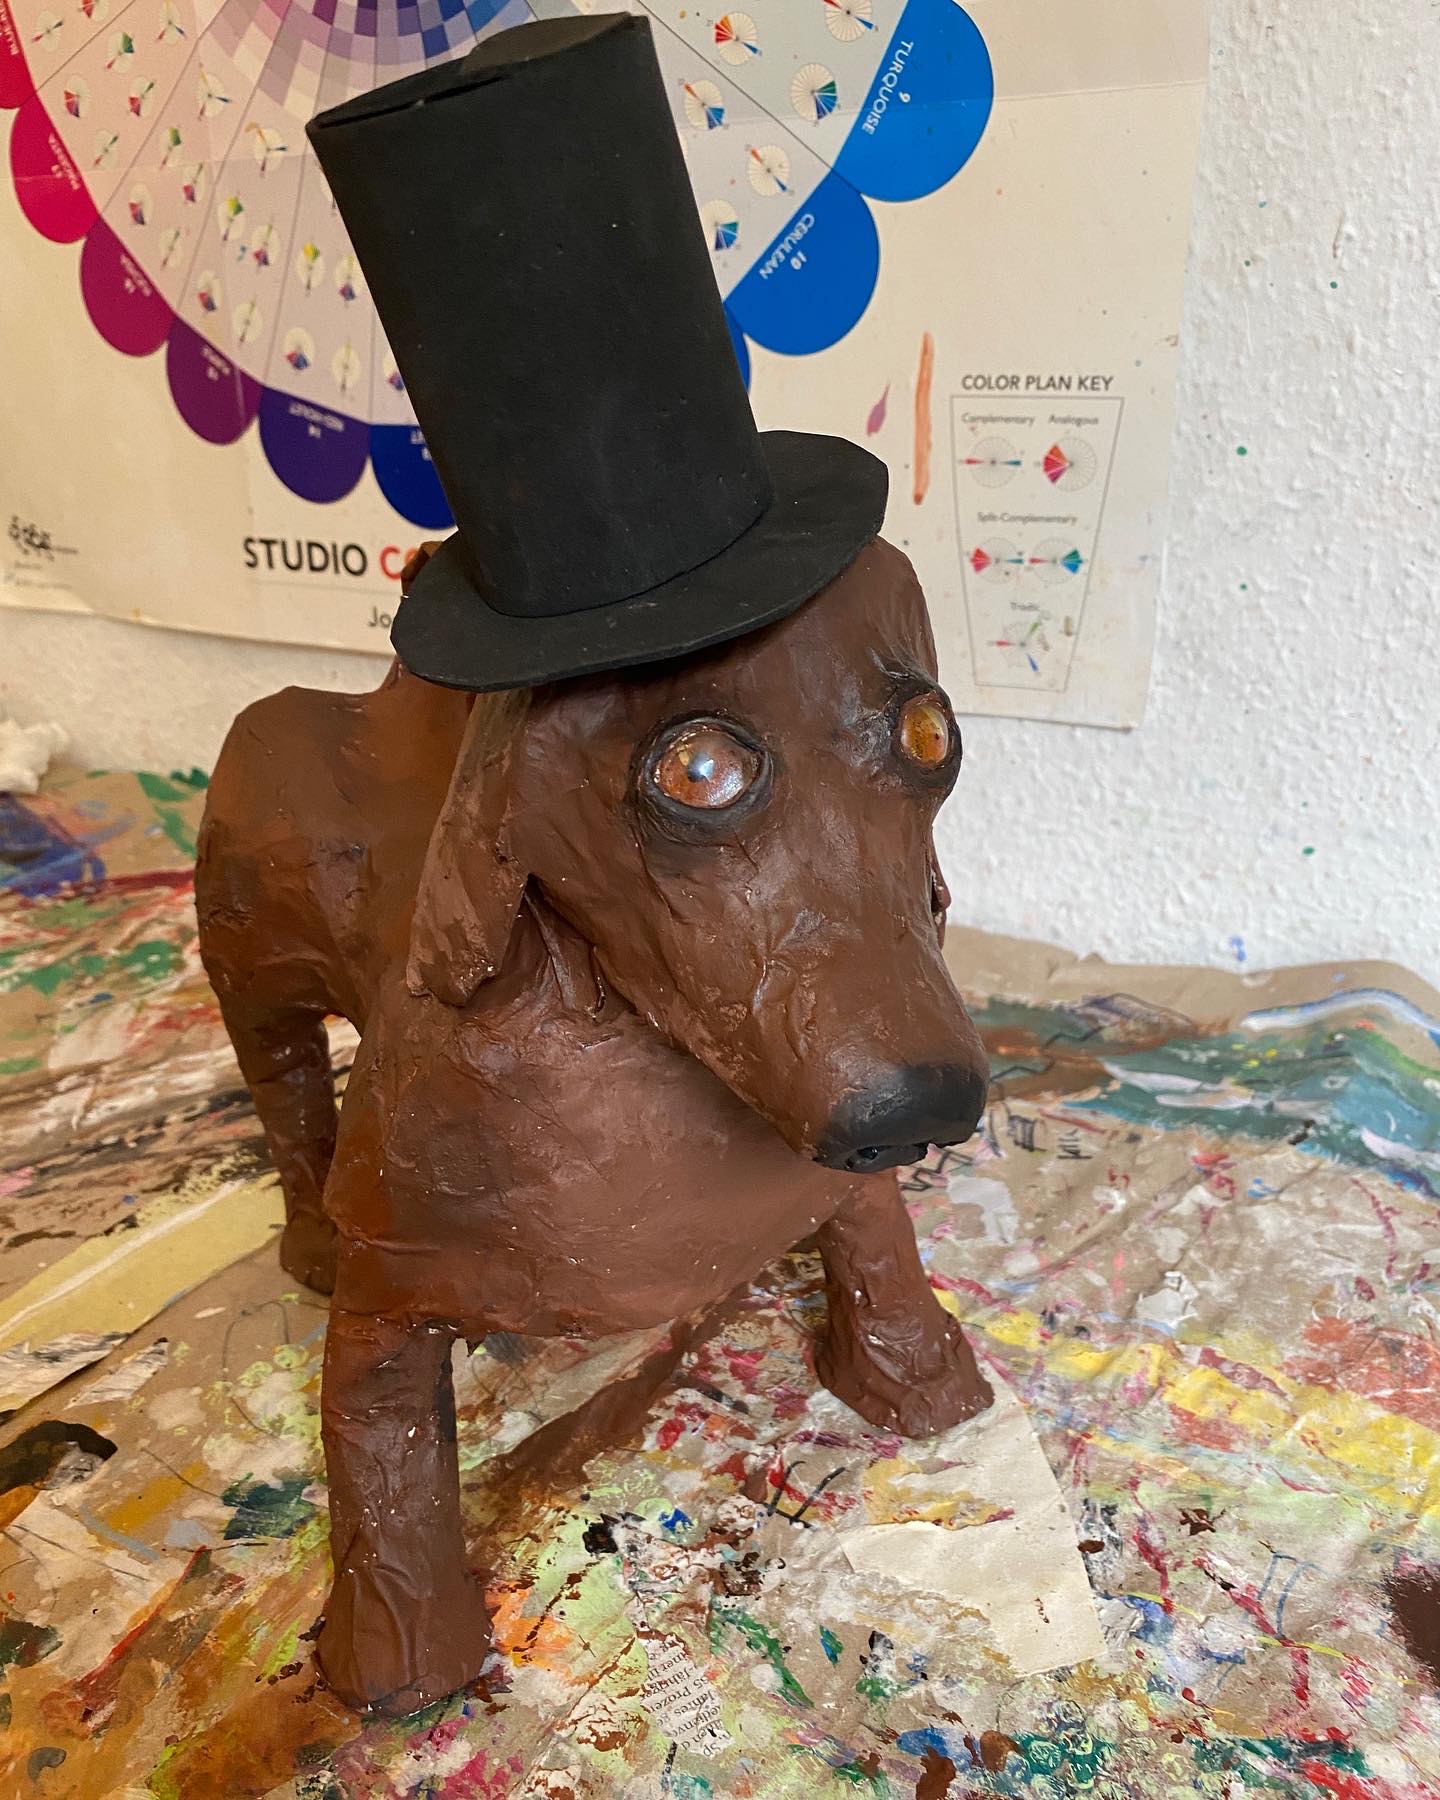
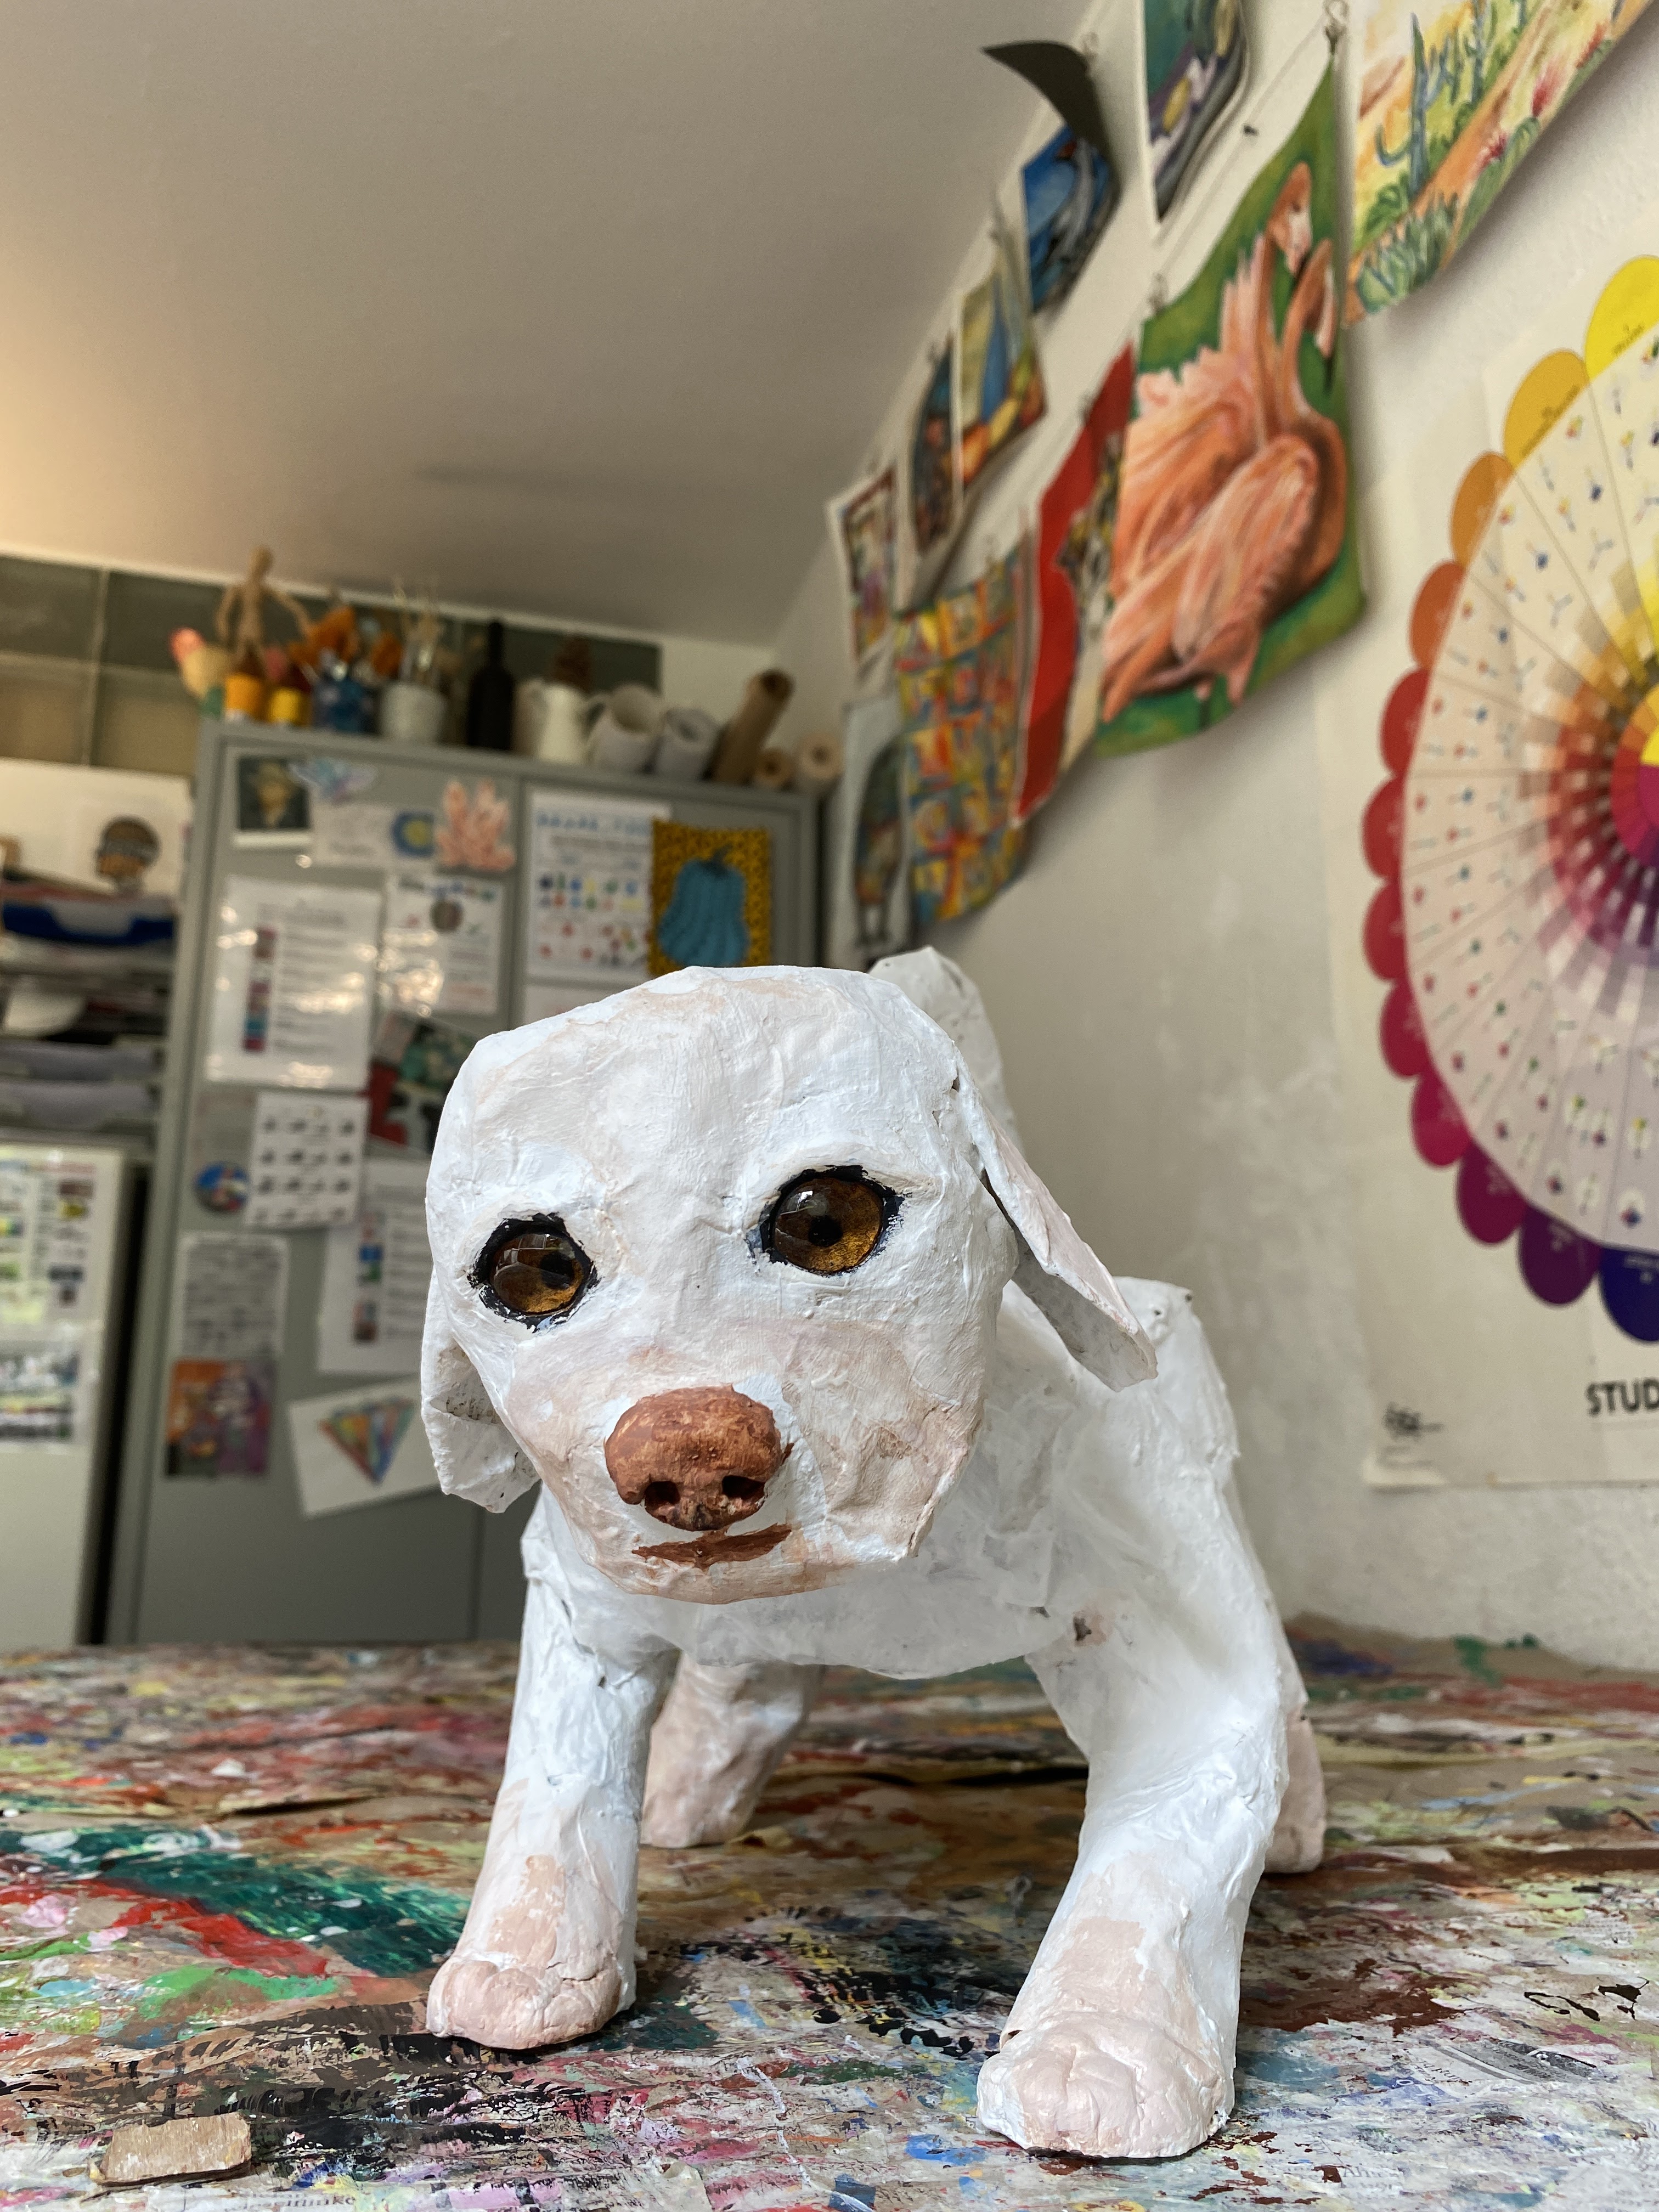
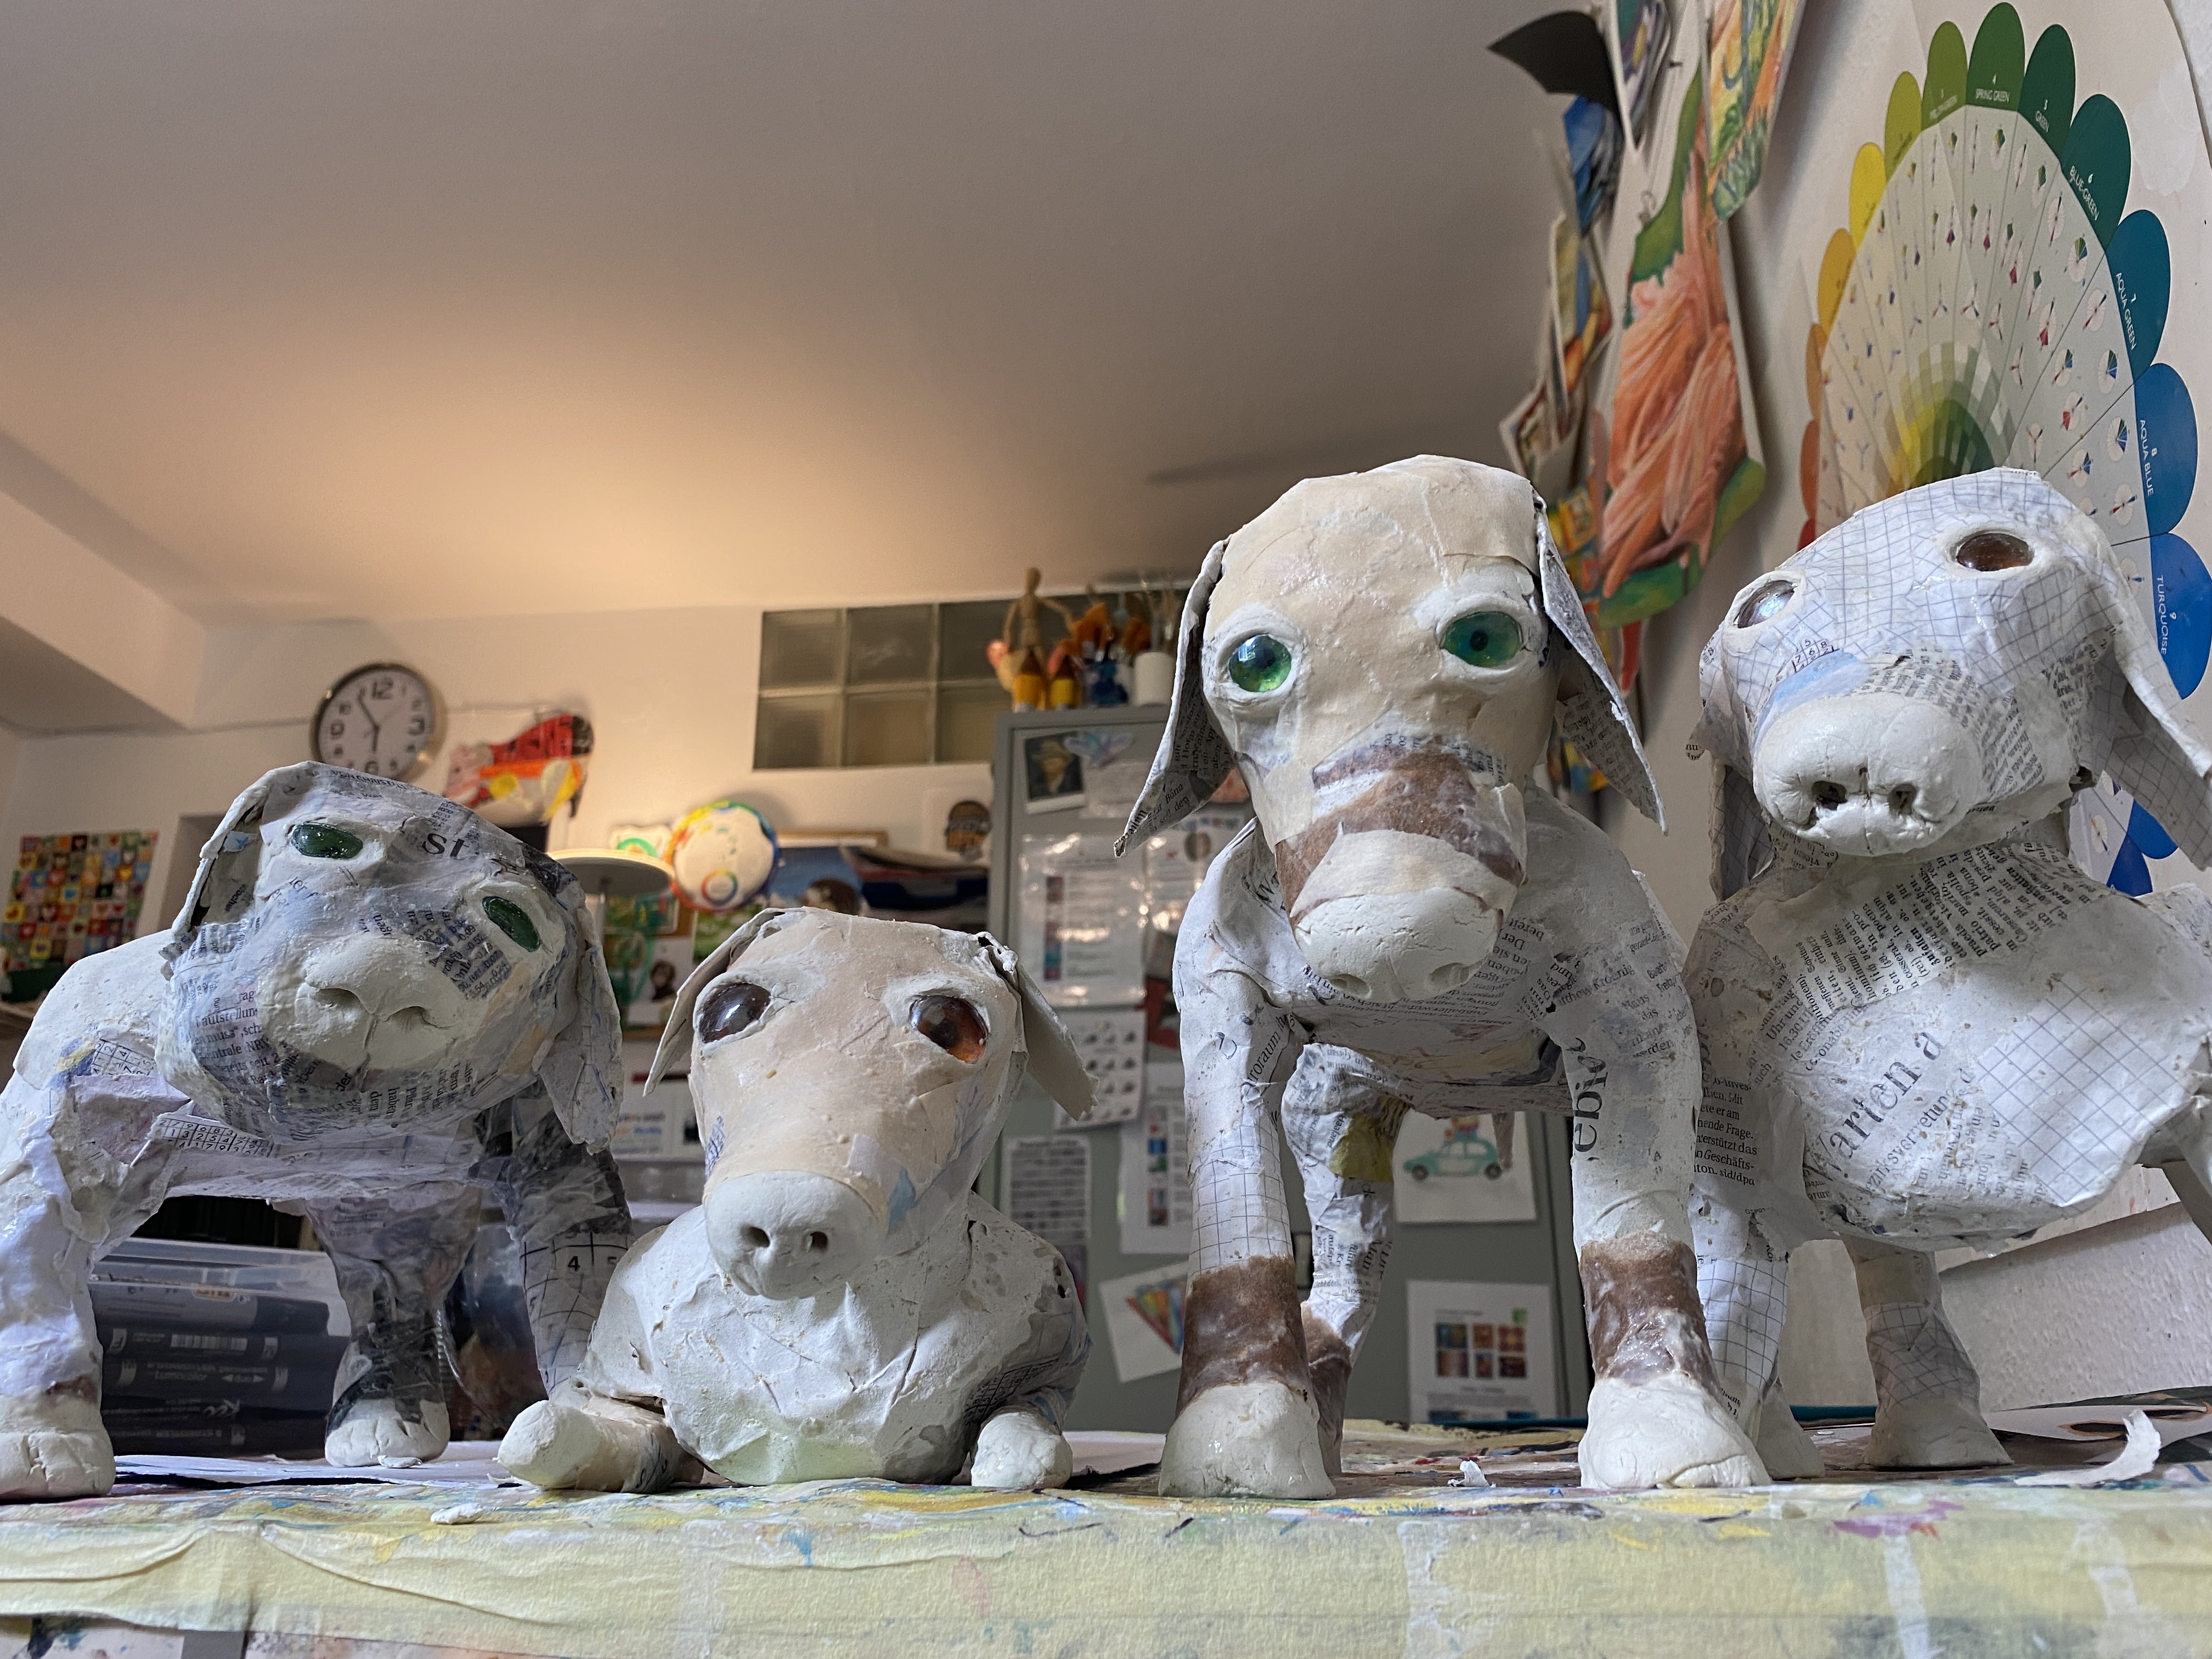
We drew eyes on paper with marker, then glued these to the back of glass cabochons. These are our eyes. We used air drying clay to mold noses into the snout area, and to mold feet into the bottom of the legs. We stuck our eyes onto our heads using a clay backing, and added clay around the eyes to create an eye area with lids and brow. Wherever we used clay, we added additional strips of paper maché to secure the clay to the sculpture. See the above video for clarity on this.
Day 4
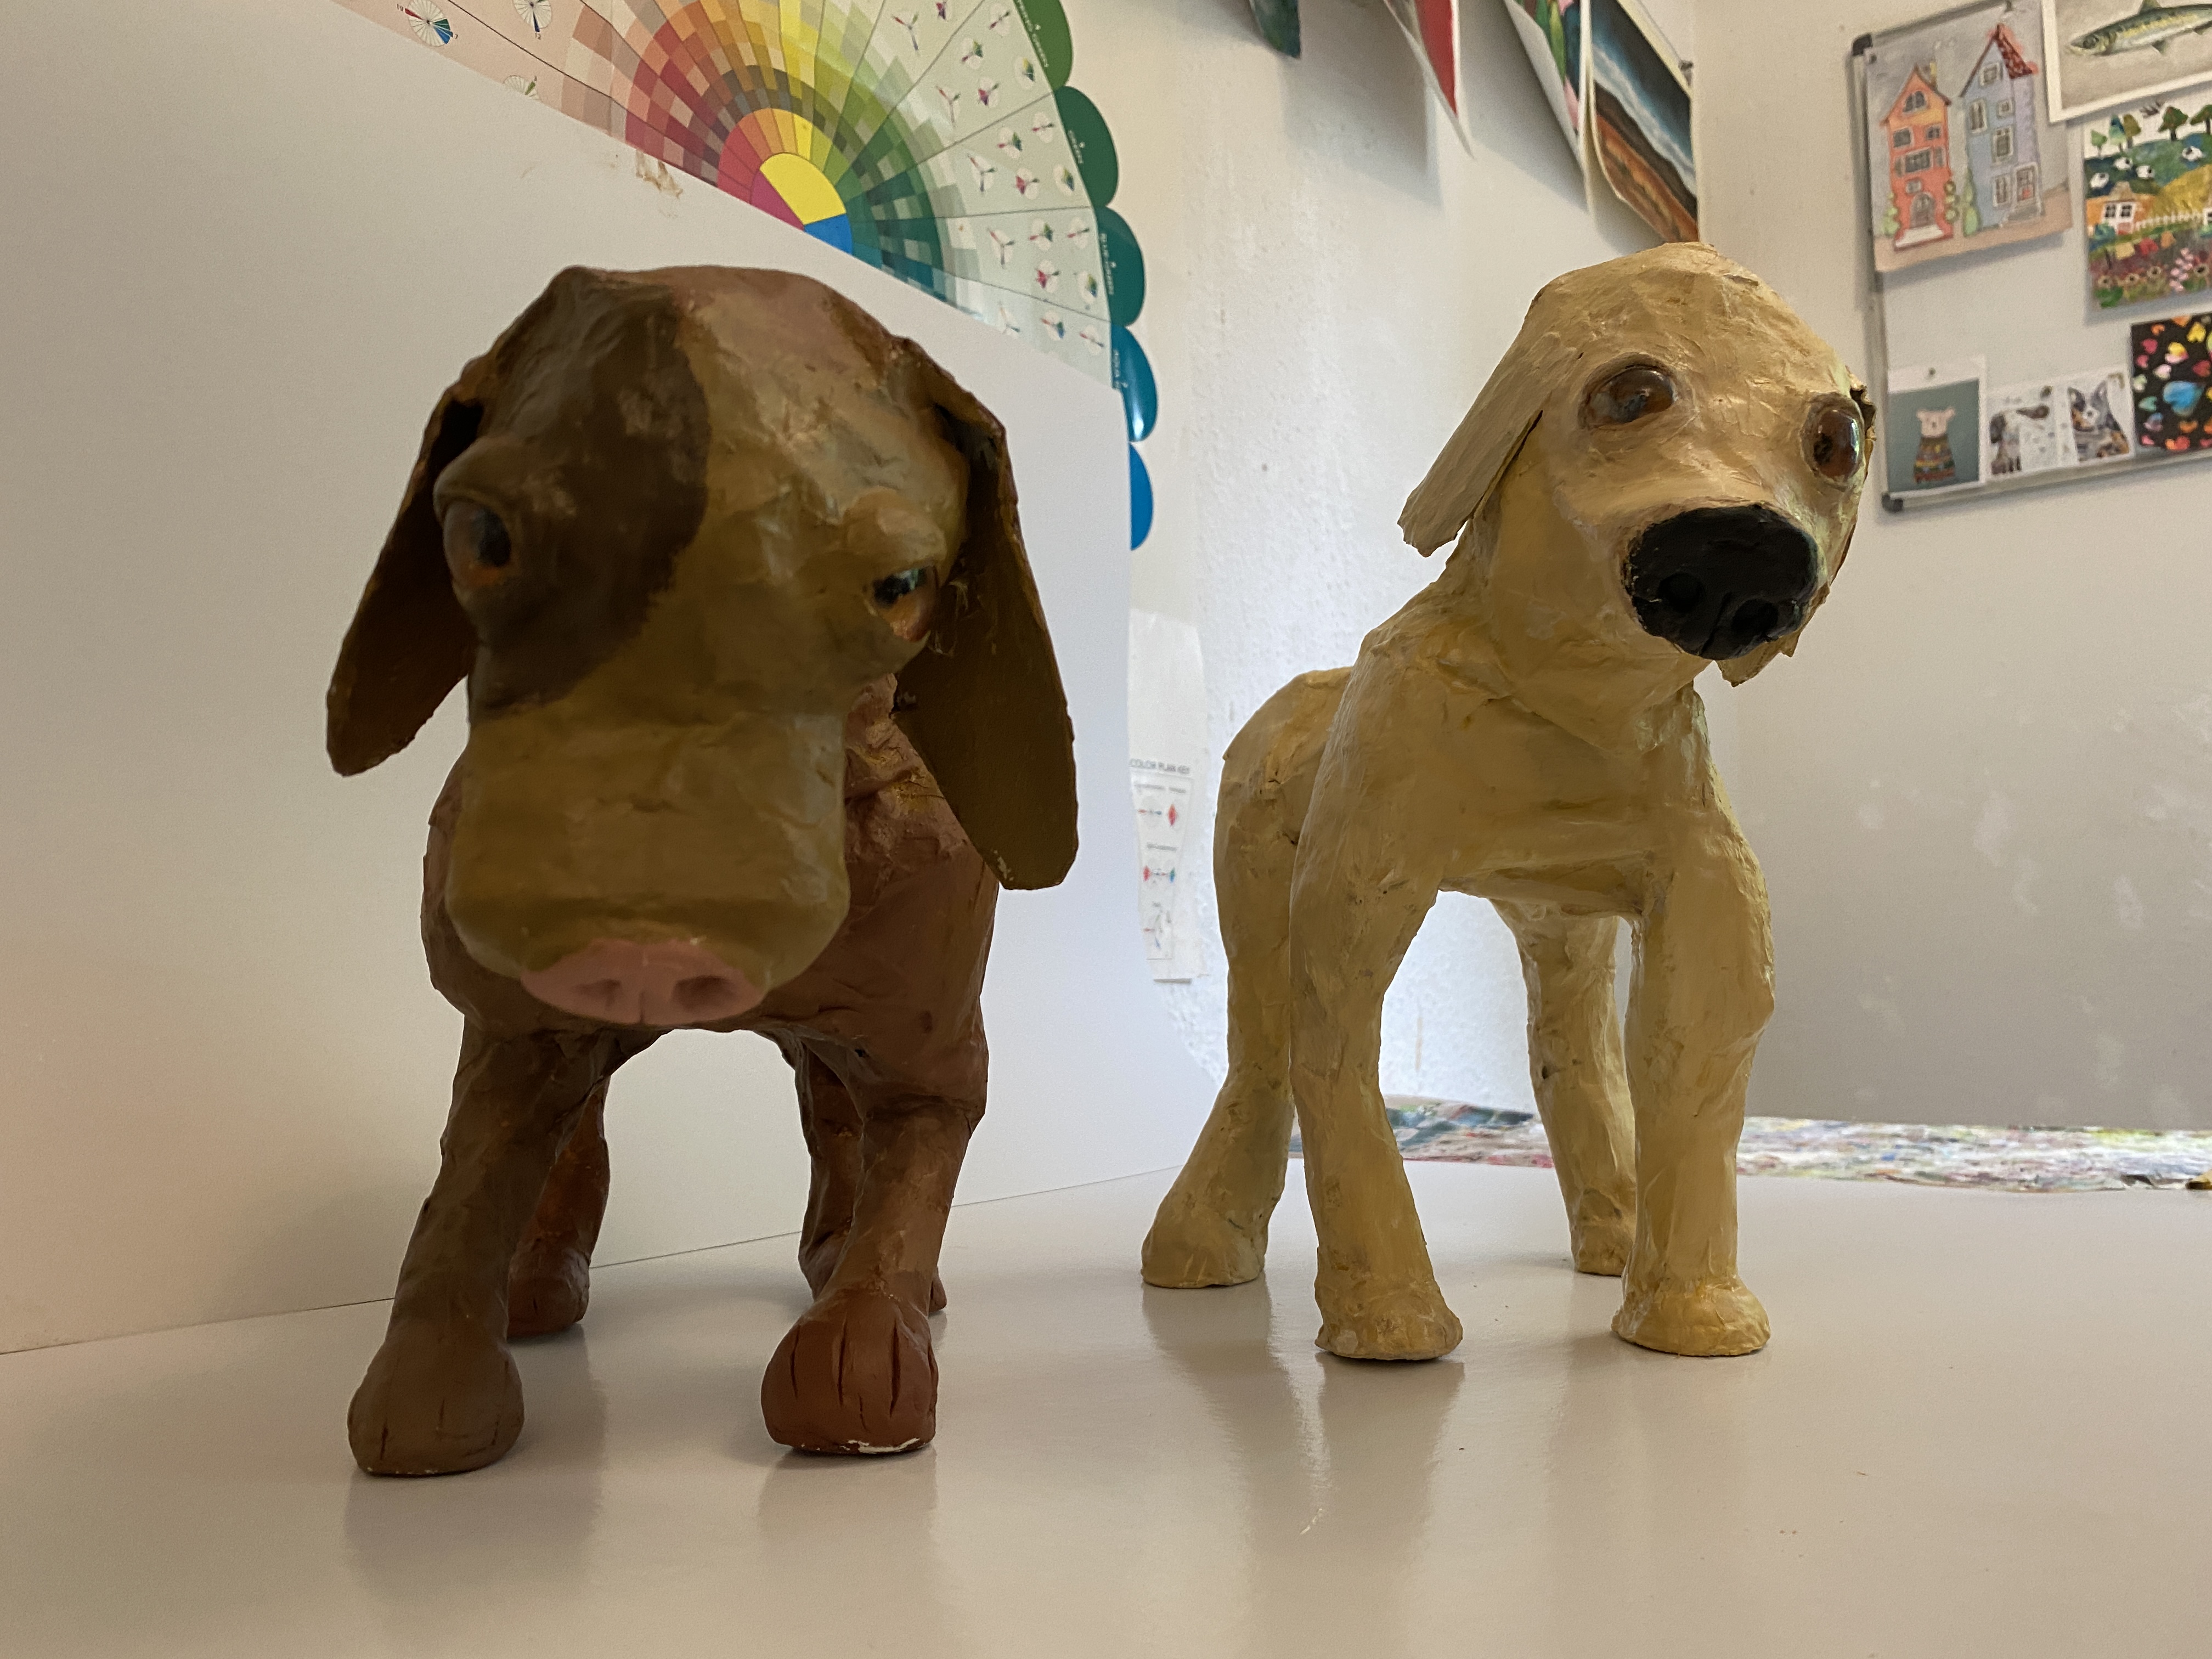
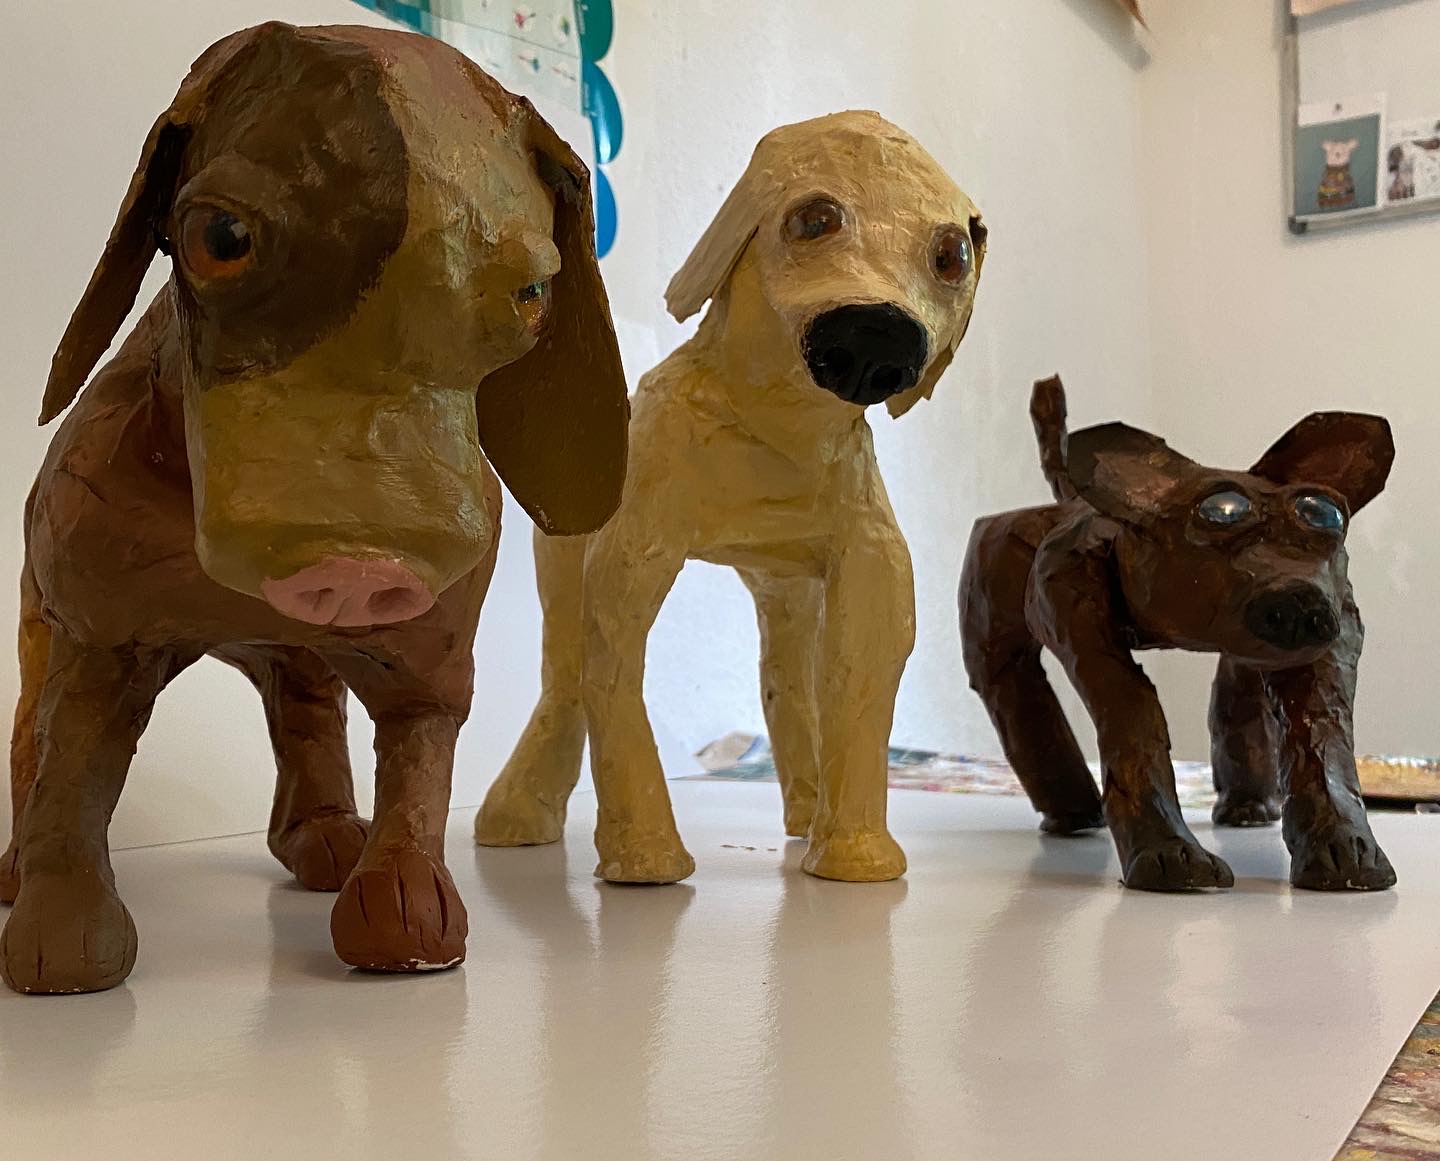
We painted our dogs using acrylic paint. Students were encouraged to use at least 3 colors of paint, mix their own browns, and to add a bit of definition around the eye area using a darker tone. When these were dry, we glazed our dogs with a coat of acrylic matt medium.
This was a sometimes tricky and lengthy process, but we learned so much and came away with wonderful dogs!
DAY 1 & 2
 |
| cup for tail support |
 |
| clay noses, paws and eye area |
 |
| adding the nose and paws |
 |
| nose and eyes in the works |
 | ||
drying on radiator for support
|


DAY 2 & 4