I LOVE gouache, and find that's it's an much easier painting medium to work with than acrylic or watercolor. Because of gouache's rich, creamy and versatile characteristics, even the youngest kids can learn how to easily blend, layer, add other media over top (for example colored pencil, chalk, graphite or paint pens), work with various opacities, mix colors and create texture.
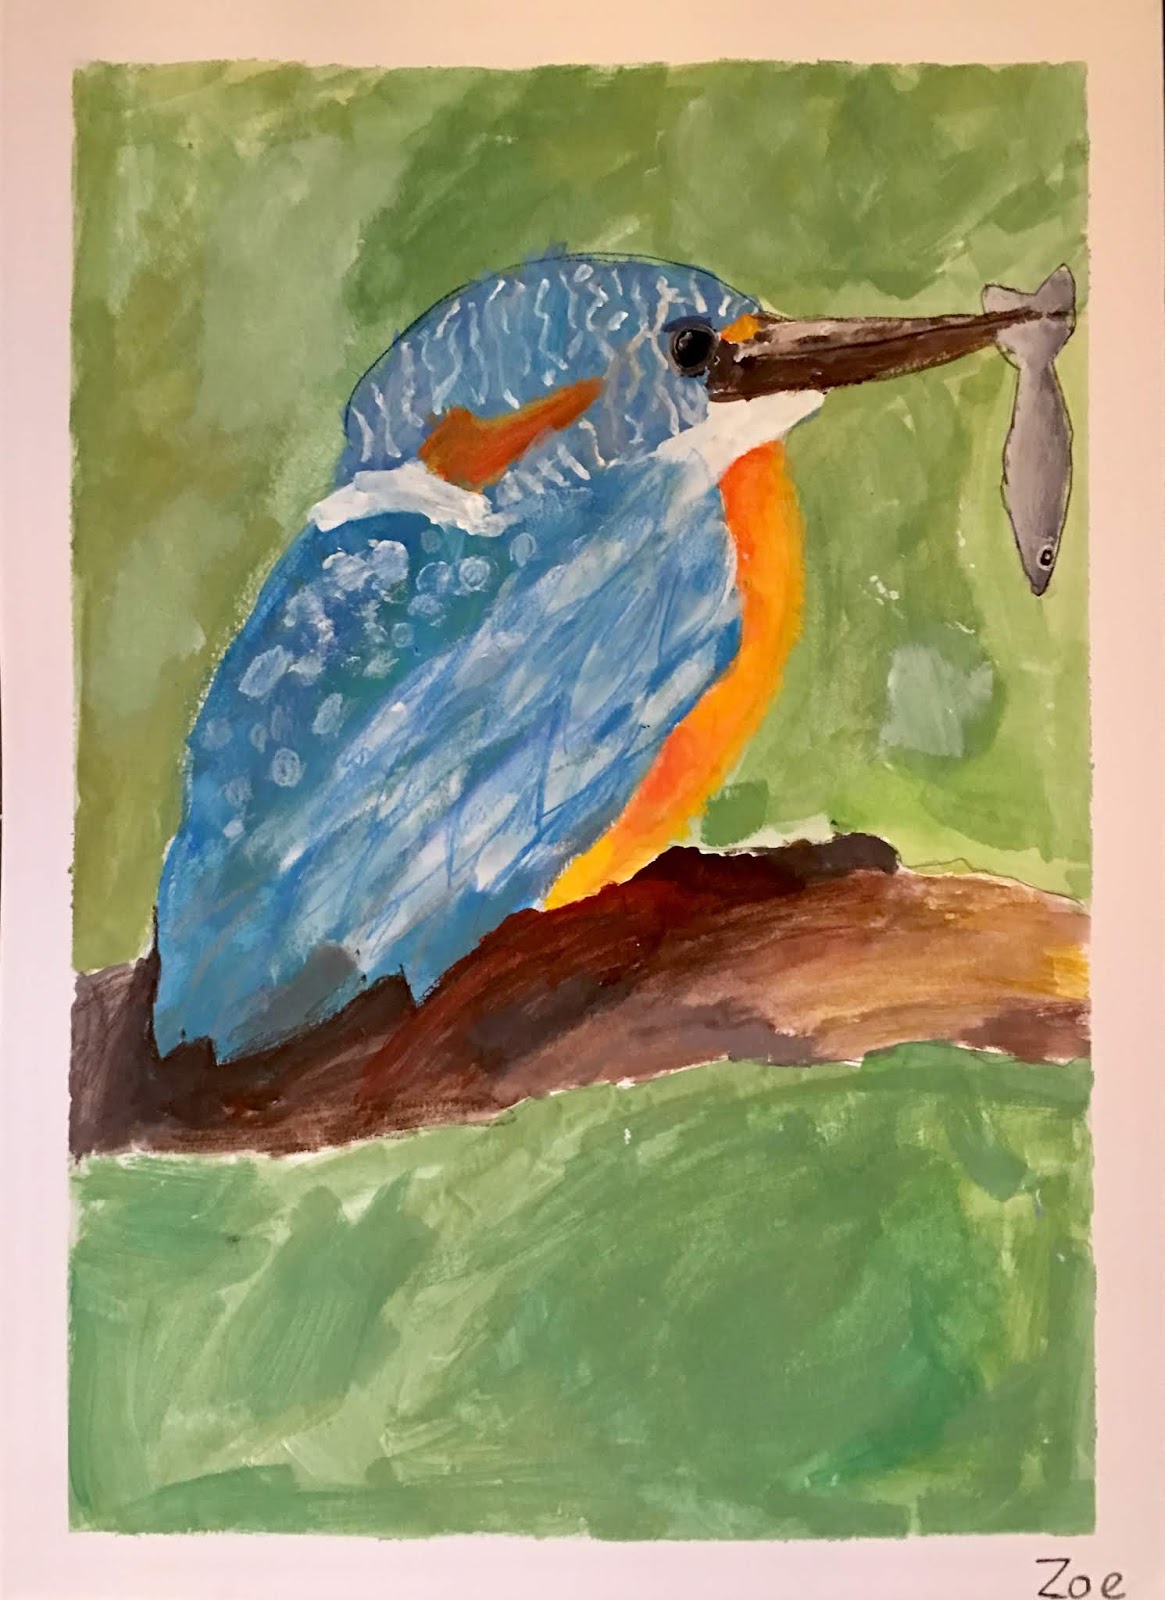
I wanted my youngest age group (aged 7-9) to continue to explore gouache, and decided a large-scale bird with a textured background would be just the thing. The king fisher has a range of colors, which allows kids to use plenty of cool and warm tones, and with a silvery fish in his beak, and perched on a wood stump, there is plenty of character, texture and neutral tones to work in too.
 |
| Class collage |
Step 1. Border
Tape down borders of an A3 mixed-media or watercolor paper.
Step 2. Drawing
I drew a guided drawing on the board, and described step-by-step how to draw the shape and location of each feature. This is especially useful when drawing the beak, the eye and the fish. Kids each had a unique photo of a king fisher and drew their very own bird, following my guidelines: Draw out your king fisher in pencil. Fill up your paper, leaving room at the bottom for a branch. The bird should be perched on a stump or a branch. The fish in his mouth should be relatively small compared to the bird (think of scale) and should appear to be dangling between the two parts of the beak. The eye is straight back from the beak. The beak is thin and pointy, etc. ...
Step 3. Background
With a palette of greens, ochre and white we dabbed colors throughout our background. Tints and tones were initially mixed on our palettes, then painted on our paper. From there, we continued to layer colors, adding more colors and tints directly on our paper, blending these, and dabbing texture all over. We were going for good coverage, thick layers and lots of variety in our colors and our textures. The background should appear 'blurry' and soft. We used a larger brush for this (a 1 inch round or a 2 inch flat would work) and painted using an 'x' motion, layering and building up our textures as we went.
Step 3. Bird
We painted the cool areas first (head, back and wings). We used different blues, greens and white to create a variety of cools, with tints of these. Colors were mixed directly on the paper. Tinting was strongly encouraged, as this gives our bird dimension, form and a brighter quality. The head of the king fisher has a light blue dotted texture - for this we used a detail brush and white paint, and 'dotted' some white over top our blue head, creating a light blue texture. Kids were encouraged to look for these kinds of details and recreate them.
Next, we painted the warm colors of the belly with yellow, red and white, creating our own oranges and tints. Our objective was to go for an overall soft bird, so we did lots of tinting.
Step 4. Fish
For our fish, we created a silvery grey using black and white. We looked out for where he is darkest and lightest, and painted in all his values. Using a detail brush we carefully painted his eye with a reflection spot.
Step 5. Branch
Using brown, ultramarine, ochre and white we painted our tree branch. The underside is darker and the upper part is lighter - we mixed tints and shades accordingly. Brown and blue create a lovely, natural dark grey color, which we explored for this section. The addition of white creates a beautiful soft neutral tone that brings some light into our branch. Students were encouraged to use their brush in short motions to create the illusion of wood bark texture.
Step 5. Mixed-Media
We used dark colored pencils to the emphasize contours of the bird, the beak, fish and eyes, as well as textures in the feathers and the wood.
Step 6. Tear off the tape to reveal a crisp border and be proud!
 |
| Teacher Sample. Gouache with colored pencil |