Wednesday, February 26, 2020

Mia Charro Animals with Floral Crown

Mia Charro original art


I fell in love with the animal illustrations of Spanish illustrator Mia Charro the instant I saw them, and kept them in mind for a potential children's art project. 

See the artist's work here. 

A few years have gone by since then. This spring semester I finally felt the timing was right to create a project for my kids around the artist's enticing work. We've been working with gouache paint lately, which is the choice medium of many illustrators and designers, in part because of it's layering potential (both dark over light and light over dark), the ease with which colors and values can be blended, allowing for areas of smooth transition, and its bright, bold colors. I figured a Mia Charro project focussing on each of these gouache painting properties would be a great way to continue our gouache explorations. Of course, the learning objectives don't just stop there! More observational portrait drawing practice is always welcome, as is exercising the principe of variety with a goal towards creating good composition and with overlapping in our flowers for a sense of depth. Color mixing is also an objective, as students will mix their own fur colors with all the necessary values to create dimension. Their floral crowns must exhibit lots of color variety too, while also repeating colors for balance. Particularly, their greens must show a range of tones to take them well beyond just straight-from-the-tube green.


Teacher Sample in progress
Teacher Sample with collage shirt
and white painted background

OBJECTIVES Day 1
Day 1:
Students each chose a Mia Charro animal they wished to interpret. Students were given a large beige multi-purpose paper (29x42 cm, 11.5x16.5 inch) and drew their animal face with torso largely on the this paper, making sure to leave enough room at the top for the floral crows. We free-hand drew, identifying roughly where in our paper our eyes should go - often halfway or slightly higher on our paper. From here, we mapped out the location of our other features, always ensuring there is enough space for torso and crown.
The base color of our animals were painted in first, with no details yet. The lighter value areas of our animals were painted overtop of our base layer, helping us to slowly build up the form and dimension in our faces.
The rule is: start back to front, and large to small. Values were continually adjusted by adding more white to our colors, and transitions between colors were smoothed out by blending our edges of colors.  
This was about as far as we got on day 1.


Day 2 and 3:
Students continued working on their animals, adding all necessary details, including eyes, nose and fur texture using a small detail brush. 
Students began painting the flowers in their flower crown. We started with 4-5 main flowers at the front, then added lots of smaller flowers, leaves and stems around and behind them. Attention and care was given to creating good composition in our flowers with plenty of variety and dimension, and to adding details to our leaves and flowers. Lighter and darker colors were mixed to create value in our flowers. Students were encouraged to mix their own greens, for a broad variety of leaf colors. Greens were mixed with blues, yellows, reds, browns, black and white for lots of different green tones and values. 

Shirts/Torso:
Students had the choice of painting the shirt of their animal in gouache paint, or of cutting out a patterned paper and collaging the shirt. In the latter case, students used tracing paper to trace the shape of the animal's shirt area, then traced and transferred this onto their patterned paper. This was then cut out and glued on their animal. 

Backgrounds:
Students had the choice of painting their background in a light, soft color which gently offsets the animal and flowers, or of leaving the beige paper unpainted. Those who left the paper unpainted traced the inside edge of their taped border with black pen, so that they too would have a border once the tape was lifted. 

Finally, the washi tape was lifted to reveal a light border and our Mia Charro animals with flower crowns are done! 

These turned out spectacularly, and with the many little changes and personal interpretations we made to our animals, each is uniquely our very own.


Finally, the washi tape was lifted to reveal a light border and our Mia Charro animals with flower crowns are done! 

These turned out spectacularly, and with the many little changes and personal interpretations we made to our animals, each is uniquely our very own.


OUR RESULTS:


Kids ages 10-13

Kids ages 9-15

Tuesday, February 4, 2020

Winter Hedgehog in Gouache

This project was inspired by an illustration I found on Pinterest a while back, which I've not been able to relocate since, and whose artist I'm unfortunately not able to give due credit. See it below.
Original Pinterest illustration
I thought this would the perfect little winter project for my younger age group (8-10 years old) to interpret, and a great way to continue our explorations of gouache.
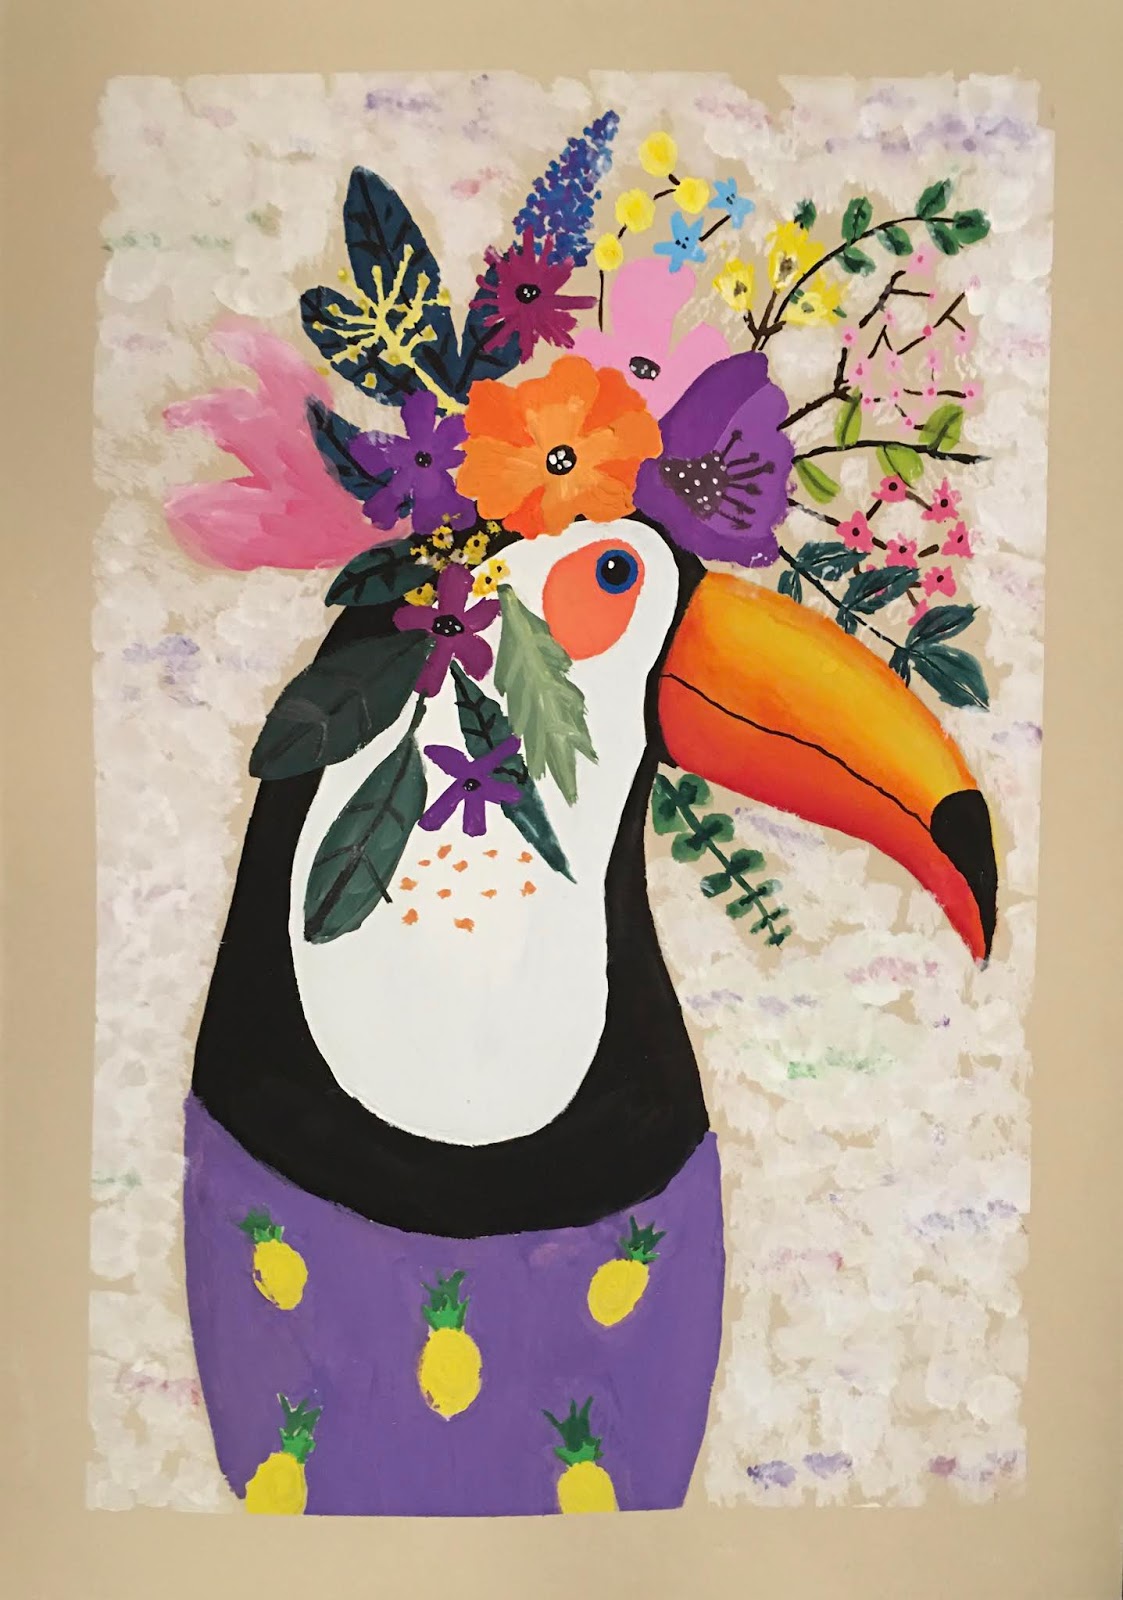
Teacher Sample

The project I created around this piece incorporates opportunities for students to explore a range of techniques, including brushwork, blending and layering.
There is also the development of a landscape, with a defined foreground, middle ground and background.
There is also a focus on the elements and principles of variety (in the foliage), and of value and painting form (in the shadowing and highlighting of the mushrooms and the hedgehog).

In a small format painting (24 x 24 cm,  or 9.5 x 9.5 inches), there is a lot of learning ground to cover.

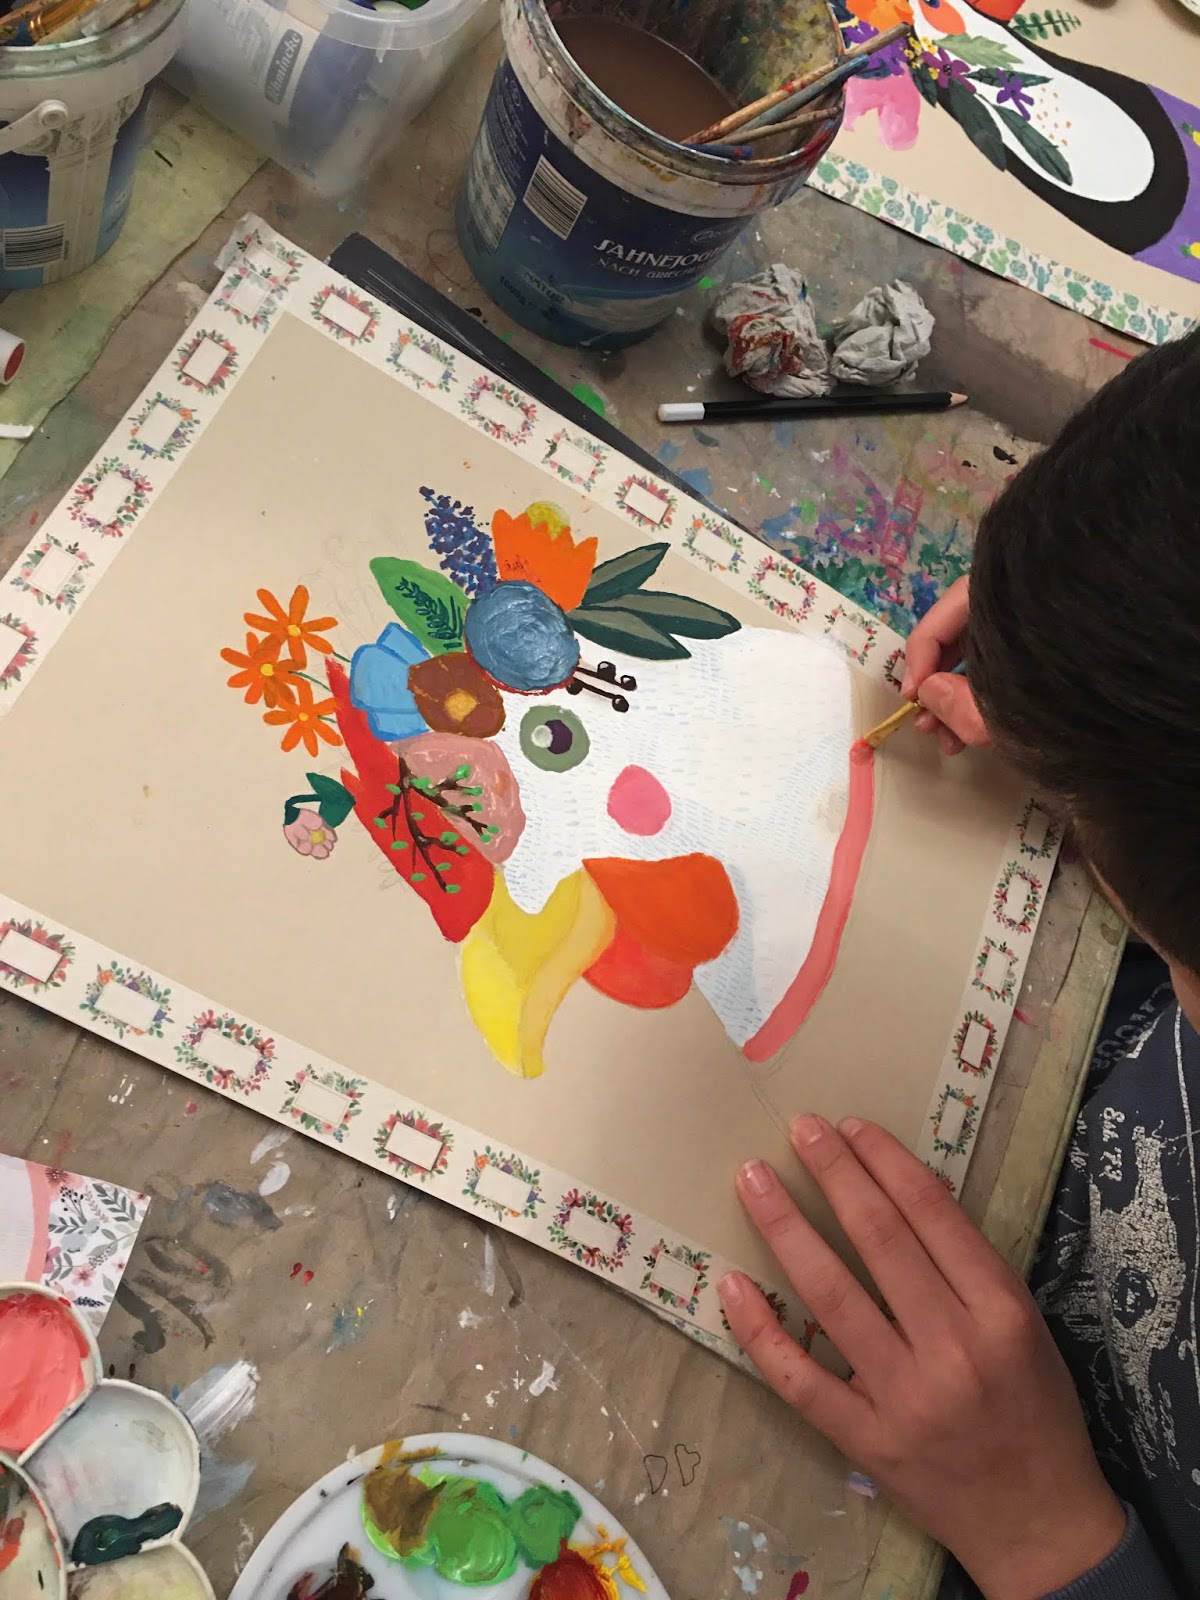
Class collage. Kids ages 8-10
See my youtube channel for a full tutorial on how to do this project: VIDEO TUTORIAL

I precut watercolor paper into squares and taped down the borders with washi tape.

We used a limited palette of:
ultramarine blue, cobalt blue, yellow ochre, burnt umber, red, dark green, and white.

DAY 1
Drawing:
The hedgehog was drawn using both a teacher drawing demo on the whiteboard, and by looking at visuals of hedgehogs. Basic shapes is the best way to start: start with a sideways egg shape, then reshape the front for an upward scooping snout with a point. Nose goes on the tip, and the eye goes on the opposite edge of snout. The body has two parts - the top prickly part in dark brown, and the lower half in lighter brown/ochre. This line is drawn in, with spiky hair peeks and an ear shape. There are four feet, with stumpy little legs. The ones closer to the viewer appear slightly lower.
We drew in the horizon line, crossing behind the hedgehog, the middle-ground line crossing behind his legs.

We drew two mushrooms, one larger than the other, using basic chubby triangular shapes, and thick stems which are wider at bottom than at top.

Background:
Sky was painted from the the top of paper to middle-ground, from dark to light, using blues with burnt umber, pure blue and blue with white.
Middle-ground was painted in a lighter blue, and foreground was painted in an even lighter blue, almost white.

Dark to light gradation sky
Hedgehog: Belly of hedgehog was painted first with ochre. White was added directly on top, in areas that have a lighter value or a highlight, and blended into the ochre. Top of body was painted in burnt umber. We added a bit of ultramarine blue to the brown for a deeper brown wherever there is shadow.
Snout was painted in brown, and white was added at top and blended in for a highlighted edge.
Legs in brown, with darker brown for shadows and lighter for highlights.

Day 1 progress
DAY 2
Mushrooms: Snow caps were painted first in white. Then the red part. Stems were painted in browns with white lightly blended in on one side for a highlighted edge. White dots were added over top of red once it was dry.

The moon was painted in white.

Light brown dashes were added on the back of the hedgehog using a tiny detail brush.

Leaves and shrubs were added at the foreground, going off both sides of the paper. Using a tiny detail brush, green stems where painted high on both sides, and leaves added. We created different greens for our shrubs, mixing blues, ochre and white into our green. Smaller shrubs were added at bottom center front in different blues, greens, ochres and browns.

Stars were painted using a tiny brush with a light dotting texture. Then, using a toothbrush, a finer mist of white paint was splattered across the composition for that snowy feel.

Washi tape was removed to reveal a lovely white border.