
My all-time favorite surface to paint on is painted paper. I never throw out the paper that covers our work surface. We use these paper covers to scribble, draw, test media, wipe off brushes, smear excess paint and generally, let loose. After a few months I replace these covers with clean paper, but I save and cut down this ‘painted paper’ for future projects. I especially like to use these papers in projects using collage and negative space painting.
This Monstera Leaf in Glass Vase is such a project. The only paint students used for this project was white acrylic. The painted paper (and our monstera drawing skills) did all the rest! The results are so beautiful. I love the unexpected colors, marks, textures and variations in the positive space, while the contrasting white of the negative space creates a stillness, a calm, visual rest.... and allows us to admire the monstera in all its simple beauty.
 |
| Class collage |
Step 1: Students chose a painted paper that they liked. They were encouraged to think beyond greens, as this is not a realistic rendering of the monstera, and to simply choose a paper that they liked for its colors, textures and marks. So many beautiful papers to choose from!
 |
| Process |
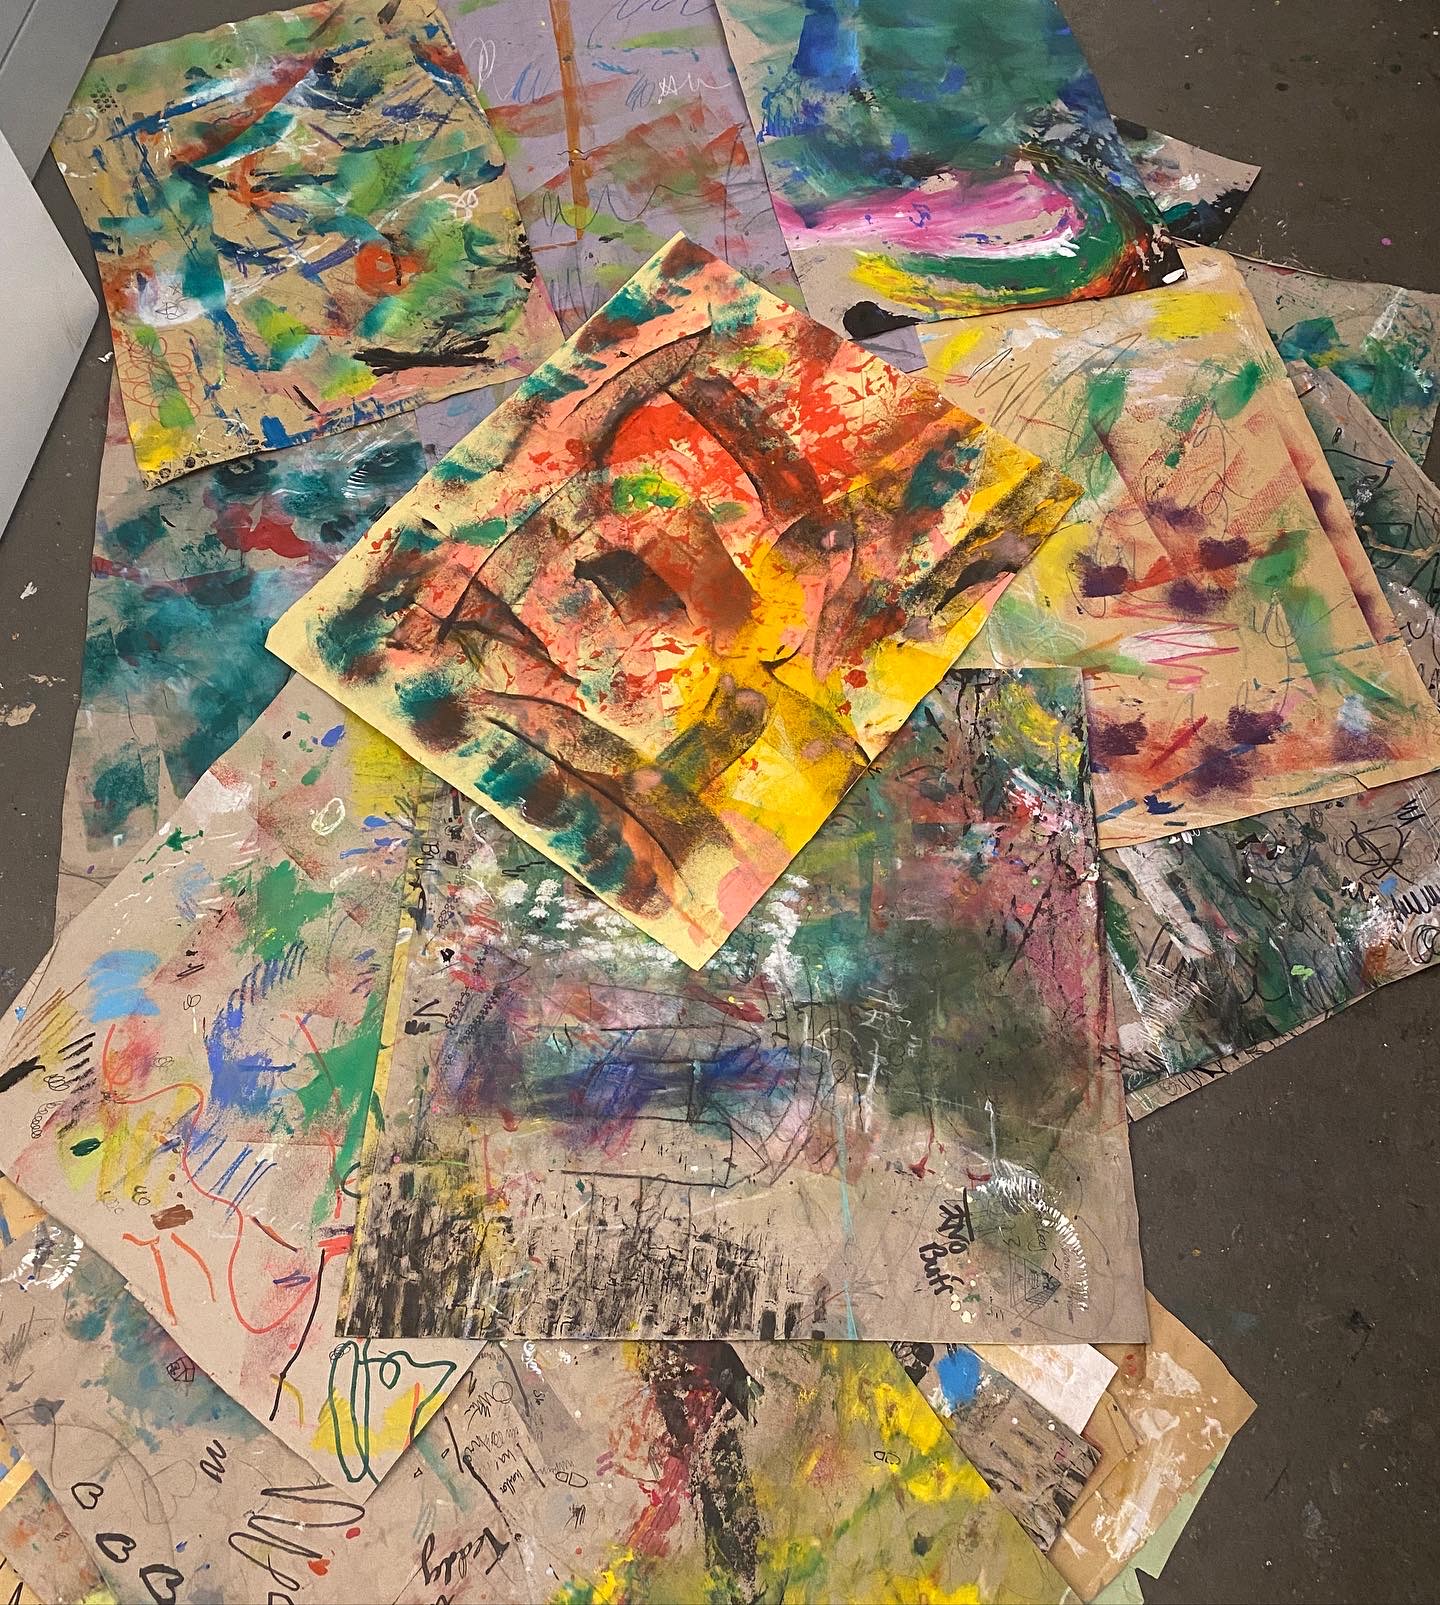 |
| Painted paper |
 |
| Painted paper |
Step 2: Drawing practice
Students practiced drawing monstera leaves on scrap paper. As with all drawing, we break this process down into basic shapes. The monstera leaf almost looks like an irregular heart shape. With this shape in place, we then draw the cut-outs, indents, and holes that create that interesting monstera leaf. Students are encouraged to look at these 'negative spaces' of the monstera leaf shape in detail, and observe how the shapes curve, angle and round. The result is pointy, irregular and curved leaf strands (the positive space). Sounds tricky, but it's all about observation.
Step 3: Draw on big paper
Students visualize their monstera on the large painted paper. They draw their monstera LARGE on the top half, and a vase of their choice on the bottom half. We used white colored pencil (or white chalk pencil) to draw on our painted paper because it shows up better than pencil. Remind students that the vase should be curved at the opening and the bottom. They should draw ellipses to establish the opening, the water level in the vase (optional), and the bottom of the vase.
Step 4: Negative space painting
Using a medium flat brush, students paint the larger negative space area around their monstera using white acrylic. NOTE: Any color could be used for this step. Depending on the colors in the painted paper, students could use any contrasting color, e.g. black, light blue, red etc. I like the high contrast of the white though. With a smaller brush, students paint the indents, openings and holes in their leaf. We painted two layers of white for brighter, more opaque coverage.
Step 5: Vase
For the vase, students were encourage to think of how glass might reflect light, and just paint a few shapes in their vase. Remind students that reflection shapes are likely curved, since the vase itself is curved. Important is that the negative space of their stem is visible and offset by some white.
 |
| Tracing contours |
 |
| Close-up for outlined contours |
 |
| Close-up for outlined contours |
Step 6: Refine and clean edges
Student establish what the main colors are in their monstera, and choose 2-4 colored pencils that match these colors (for strong contrast, the darker the colors, the better - dark blue, dark purple, dark green, etc.). All the contours and white shapes are outlined in one of these colors. Students regularly switch to another color at a different section of their monstera.
That's that! Students were pleased with their work, and enjoyed this process.
It took 90 minutes to complete, for ages 9-11.


