
 |
| 8-11 year olds |
 |
| 8-14 year olds |
 |
| 6-7 year olds |
This project took us two 90-minute sessions, though we had a bit time left over at the end of each class, so it could be done more quickly if time is an issue.
 |
| Cooperative taping |
Day 1:
On our first day, we discussed sculpture: what is it, where might we find sculptures, have we made sculptures before?
Then I intruded the new vocabulary word: armature (the inner structure of a sculpture). And with that we got to work building our armatures. Using cardstock, we cut out half circles. For efficiently and uniformity, I prepared a standard template for this purpose. We notched and cut this half circle out, and folded it into a cone. Tricky, but manageable with some practice. Cones were secured with artist tape. I had kids work in pairs to help each other hold and tape the cone, and rip the tape. Not easy to do with only two hands. Next up: we secured our cones to the toilet paper roll, making sure the cone was not tilted. Again, kids helped each other with this step.
*Note: Ripping tape proved more difficult for some than others. Some kids were tending toward cutting the tape with scissors, but I quickly confiscated the scissors. Why? Because it required even more hands, is actually much less efficient, and does not teach us how to.... tear tape. I demonstrated how to 'pinch' left and right thumb and pointer fingers together at the fingernails on the tape, and tear. Strips of tape could be 'stockpiled' on the edge of the table to speed up the taping process. These guidelines quickly solved the tape tearing issues.

Once our armatures were complete, we began covering them with plaster. I precut the plaster into rectangles and wide strips. We dipped in water, held the plaster strip carefully with one hand so it hung from our hand like a curtain (and did not fold in on itself), and with thumb and pointer finger on the other hand, we smoothed off the extra water. We then carefully draped pieces on our armature and smoothed out any wrinkles or folds. I had the kids think of it like ironing, or spreading a blanket on your bed. No folds, wrinkles or lumps allowed. You wouldn't want a lumpy pencil, would you now?
Once pencils were all covered in plaster, and the plaster was smoothed down, we laid them on the rack to dry until next class.
Table surfaces were cleaned up and hands were washed. Then on to our ferrules!

We looked at real pencil ferrules and discussed embossing and debossing. We placed our strip of silver on top of foam sheets, and using a ruler, we began adding designs on both sides of our ferrule. I demonstrated how I might draw a 'ladder', so two parallel lines on either edge of the ferrule with horizontal dashes extending between them (deboss). Then turn it over, and add circles or dots in between each horizontal line (emboss). Students created their own unique designs though. We used blunt pencils and pressed hard enough, or went over each design several times, so the design would show though both sides.
 |
| Making our ferrules |
 |
| Embossing our ferrules |
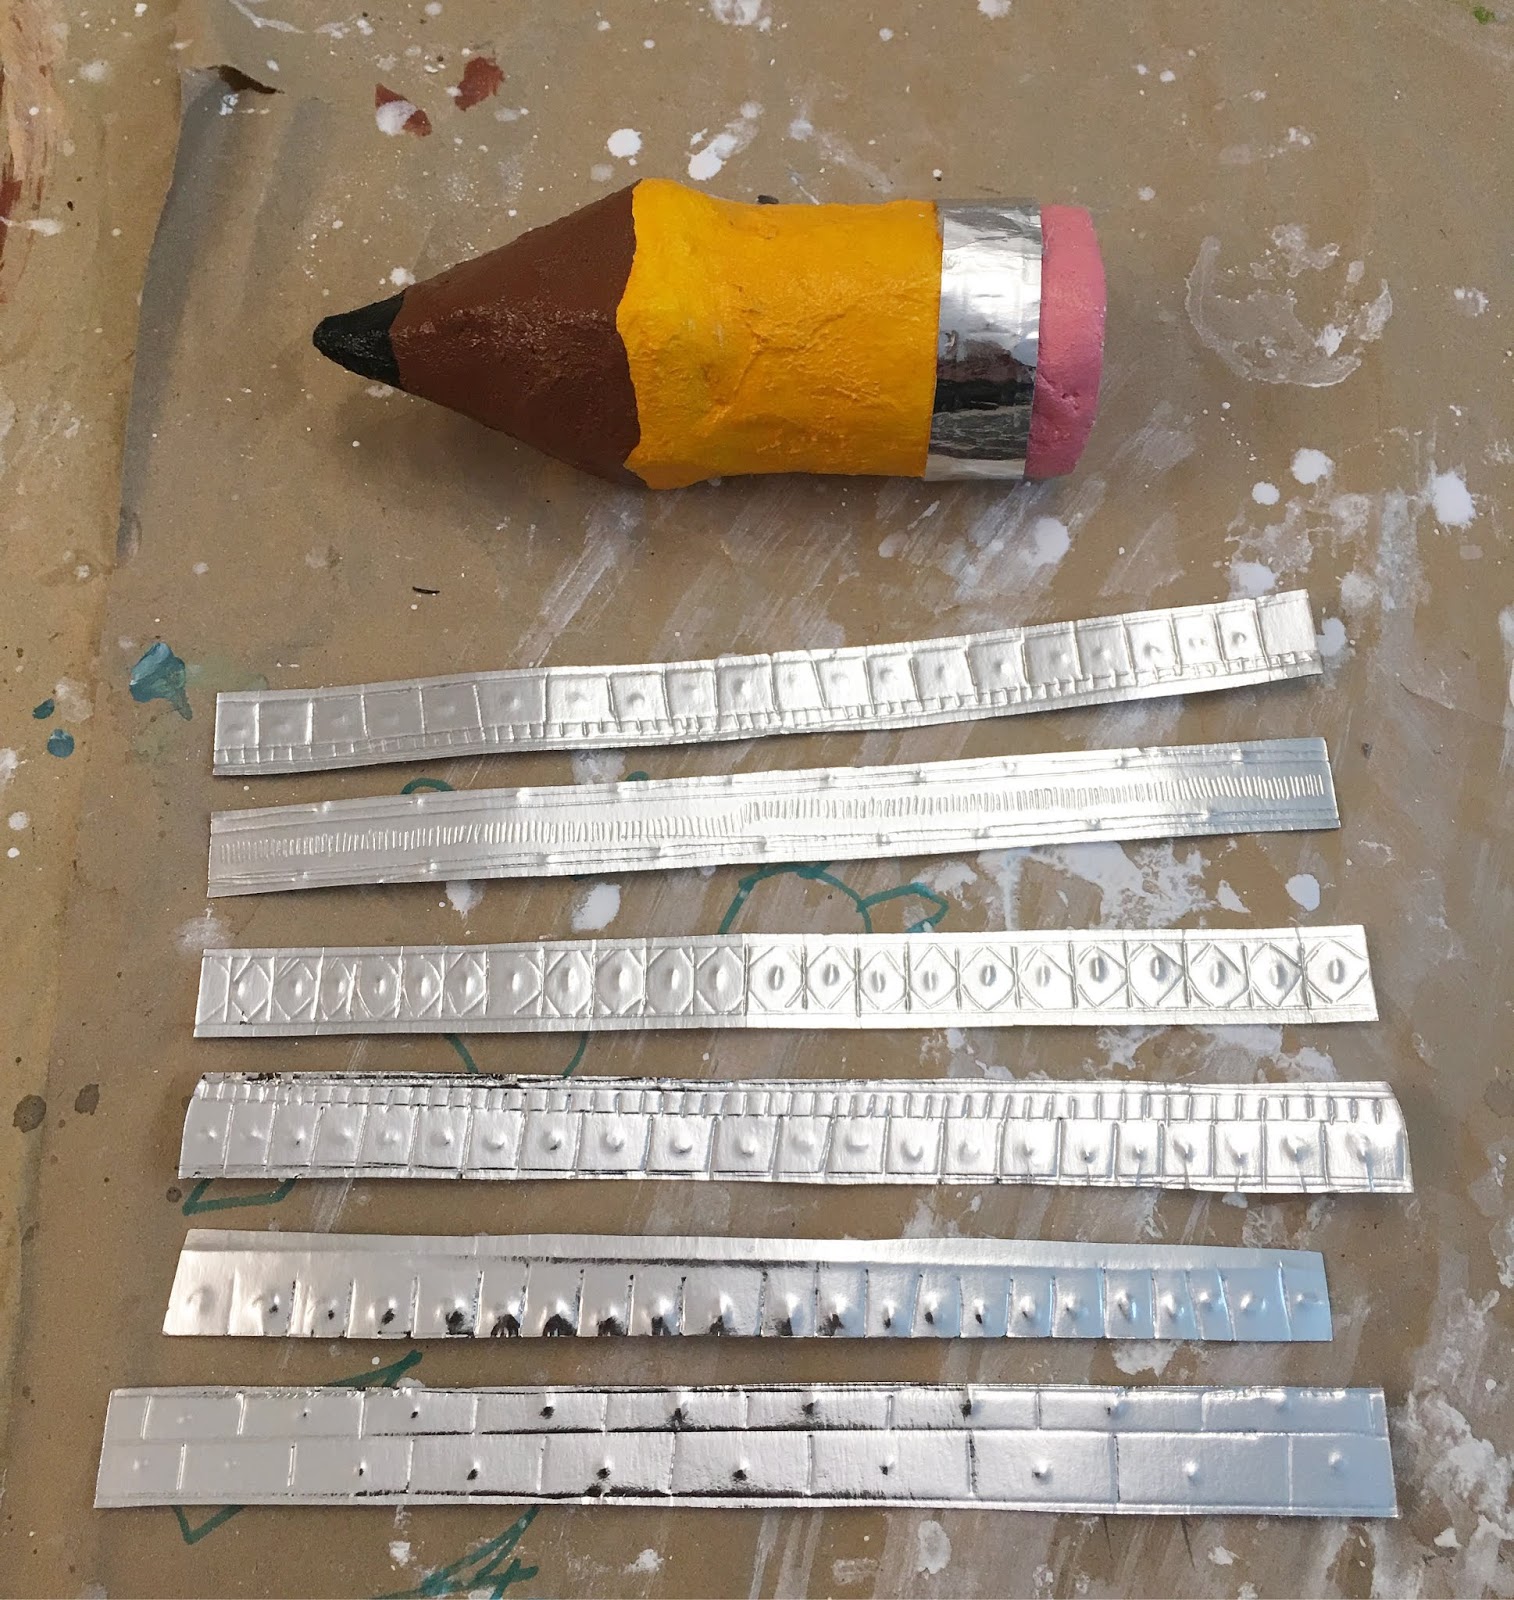 |
| Completed embossed and debossed ferrules |
 |
| Plastered sculptures |
Day 2:
The next session was all about careful painting. Surprisingly, this took nearly the full 90 minutes, because our focus was on painting our pencils with precision, making sure no finger prints of smudges got on our pencils, and that the final look was meticulous and clean. Striving for this clean finish required periodically drying our paint with the blow dryer and cleaning our hands with baby wipes in between painting steps. In many cases, we had to go back over our pencil and address smudges with another coat of color. We used two sizes of flat brushes, which helped us paint clean straight edges separating our colored sections (eraser, pencil section, wood section and graphite). For the graphite tip we used an even smaller flat brush. When we were all happy with painting, we added the ferrules using a glue gun. The kids held the ferrule in place and I glued.
 |
| Painting our pencils |
This was a super fun project and proved totally manageable despite the limitations of the Art Room. And students were downright giddy about their pencils sculptures and super proud of how beautifully and neat they turned out! All the extra effort paid off!
 |
| 8-11 year olds |
 |
| 6-7 year olds |